What is kimchi?
Kimchi is a traditional Korean side dish that’s fermented and fiery. It’s made from Napa cabbage and includes plenty of garlic, ginger, and Korean pepper flakes called gochugaru. It packs a lot of flavors into one jar: spicy, pungent (in a good way), and umami. It’s an iconic ferment that’s also easy to make at home.
Many store-bought kimchi options are very spicy. This recipe gives you full authority to change the heat as needed. We won’t judge you for it. Feel free to crank up other flavors you want more of, like garlic and ginger. And if you’re not so into the heat, try this kimchi recipe that balances the spice with apples.
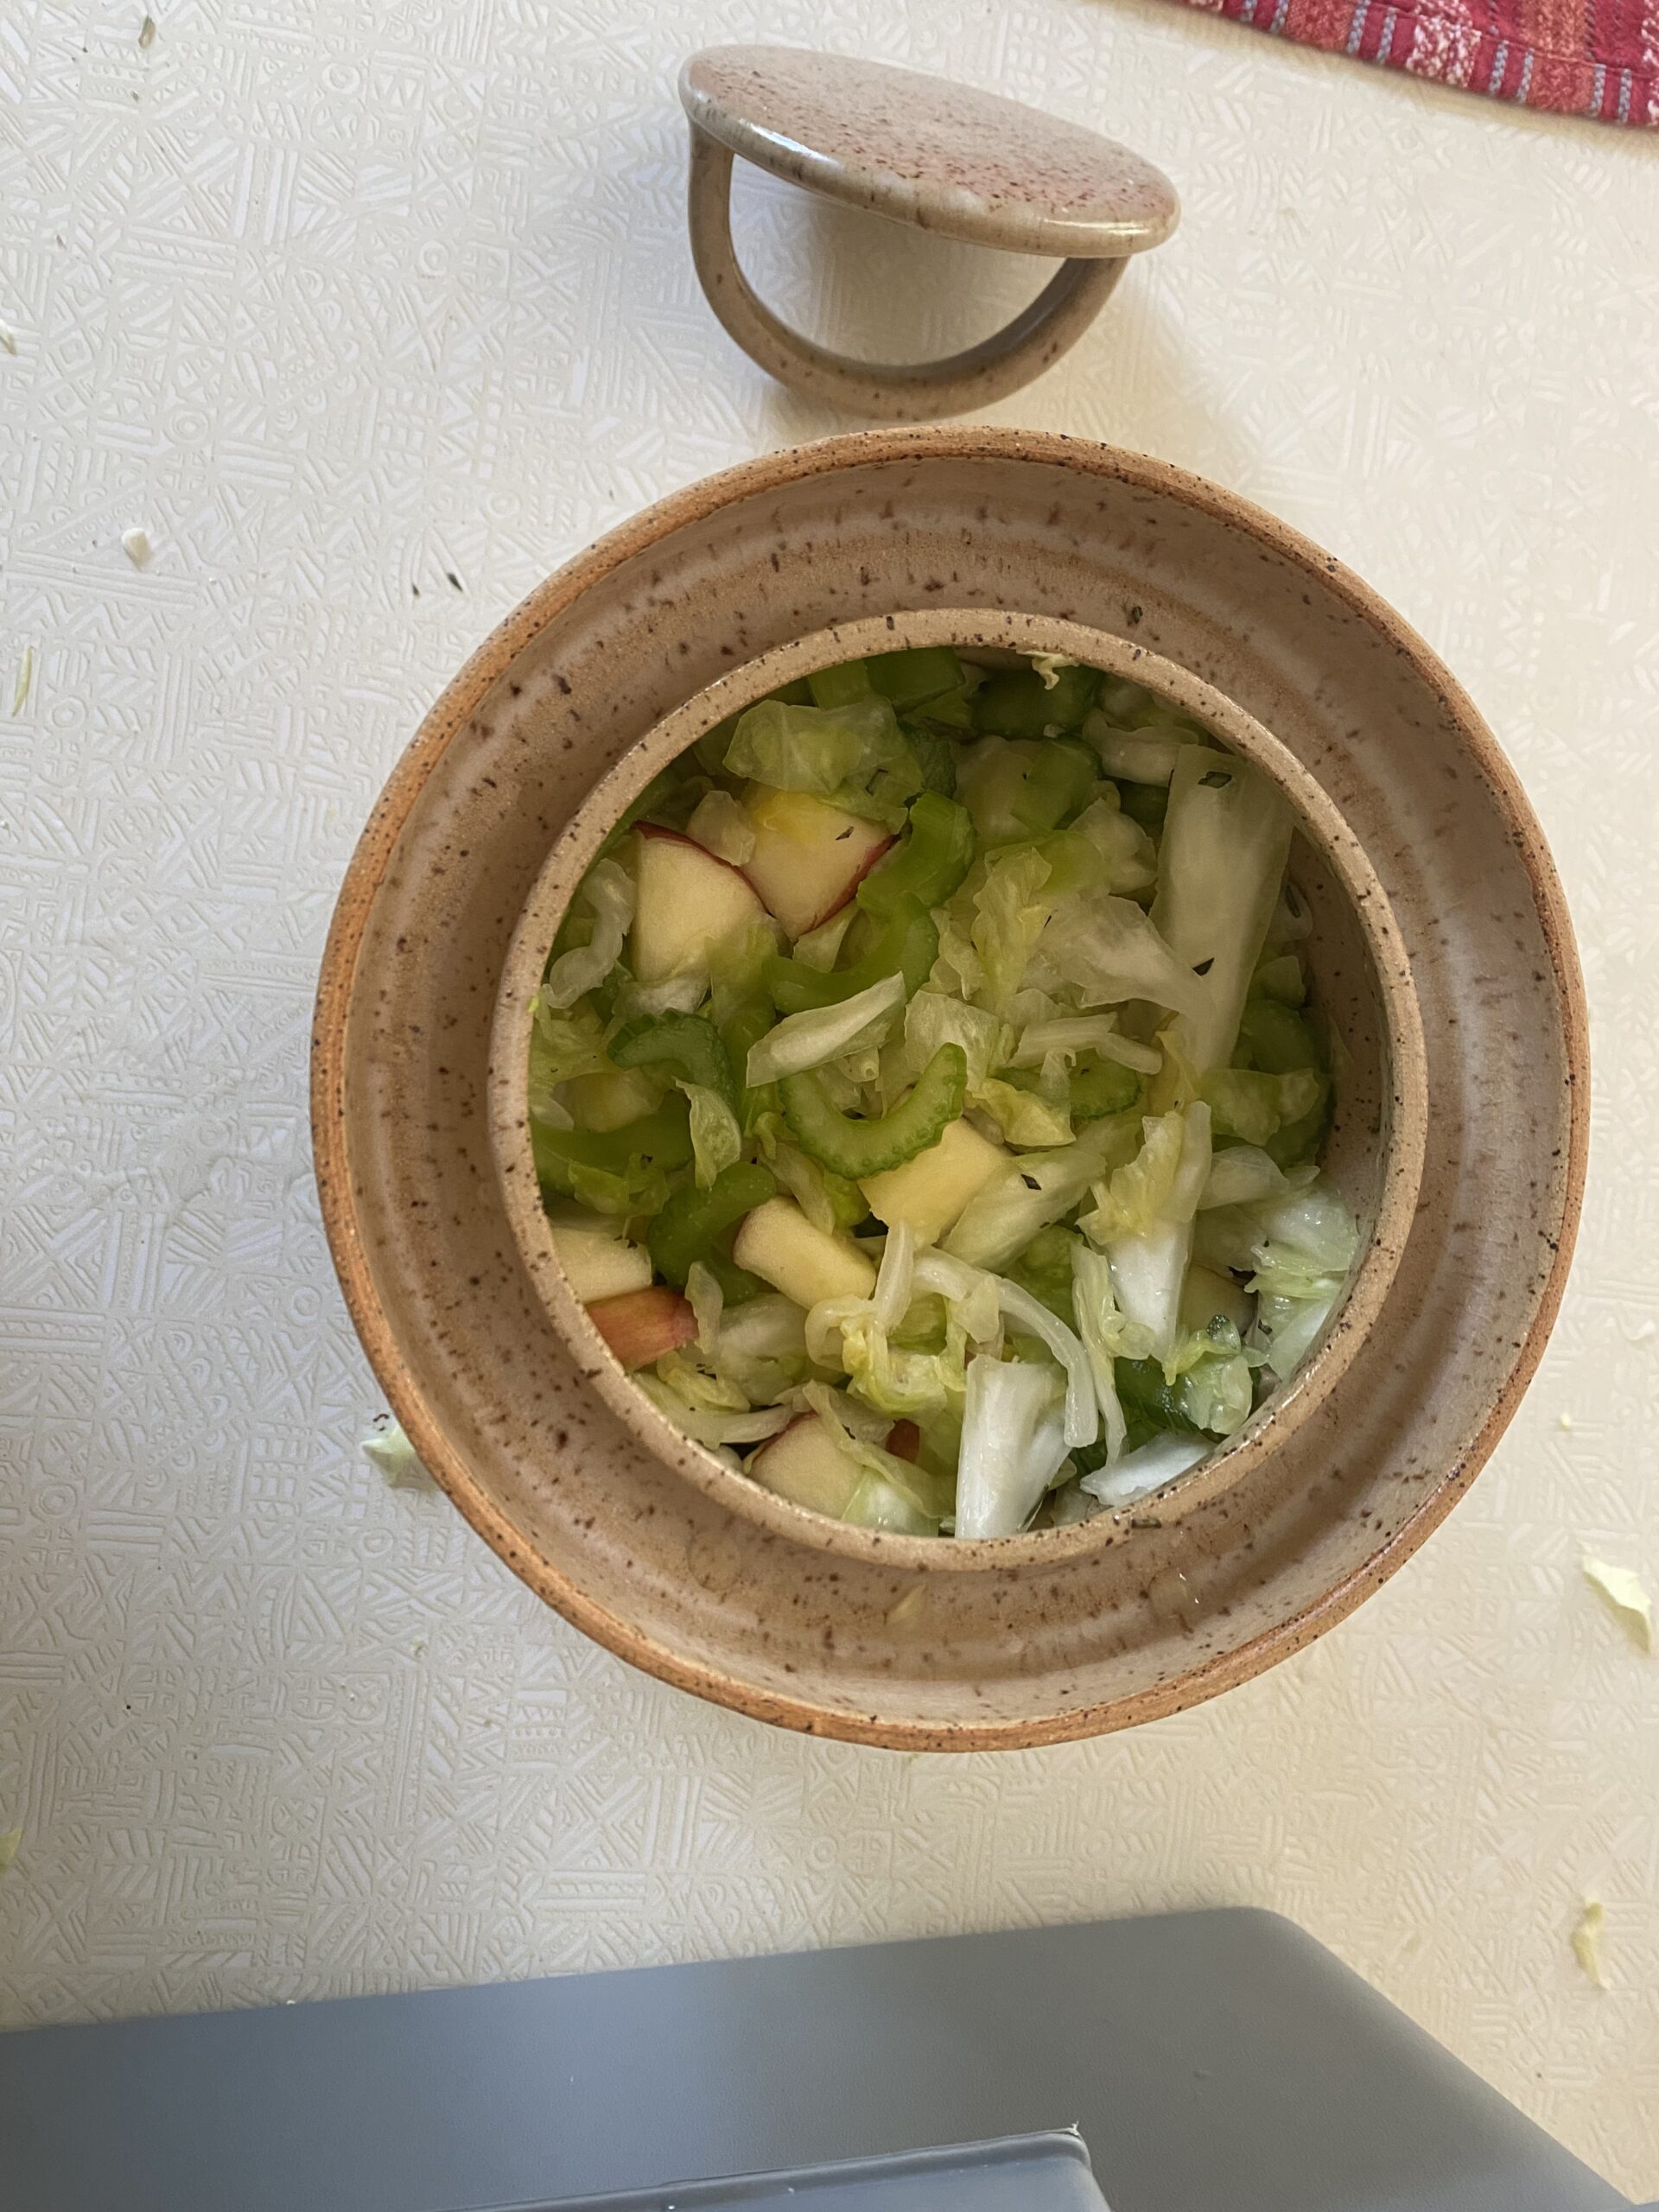
You can also make kimchi with different flavor profiles entirely. We like to add lemon kimchi, turmeric kimchi, and white kimchi to the kimchi-making rotation. These alternative kimchi recipes don’t use gochugaru at all. And they’re just as delicious!


Nourishing ingredients
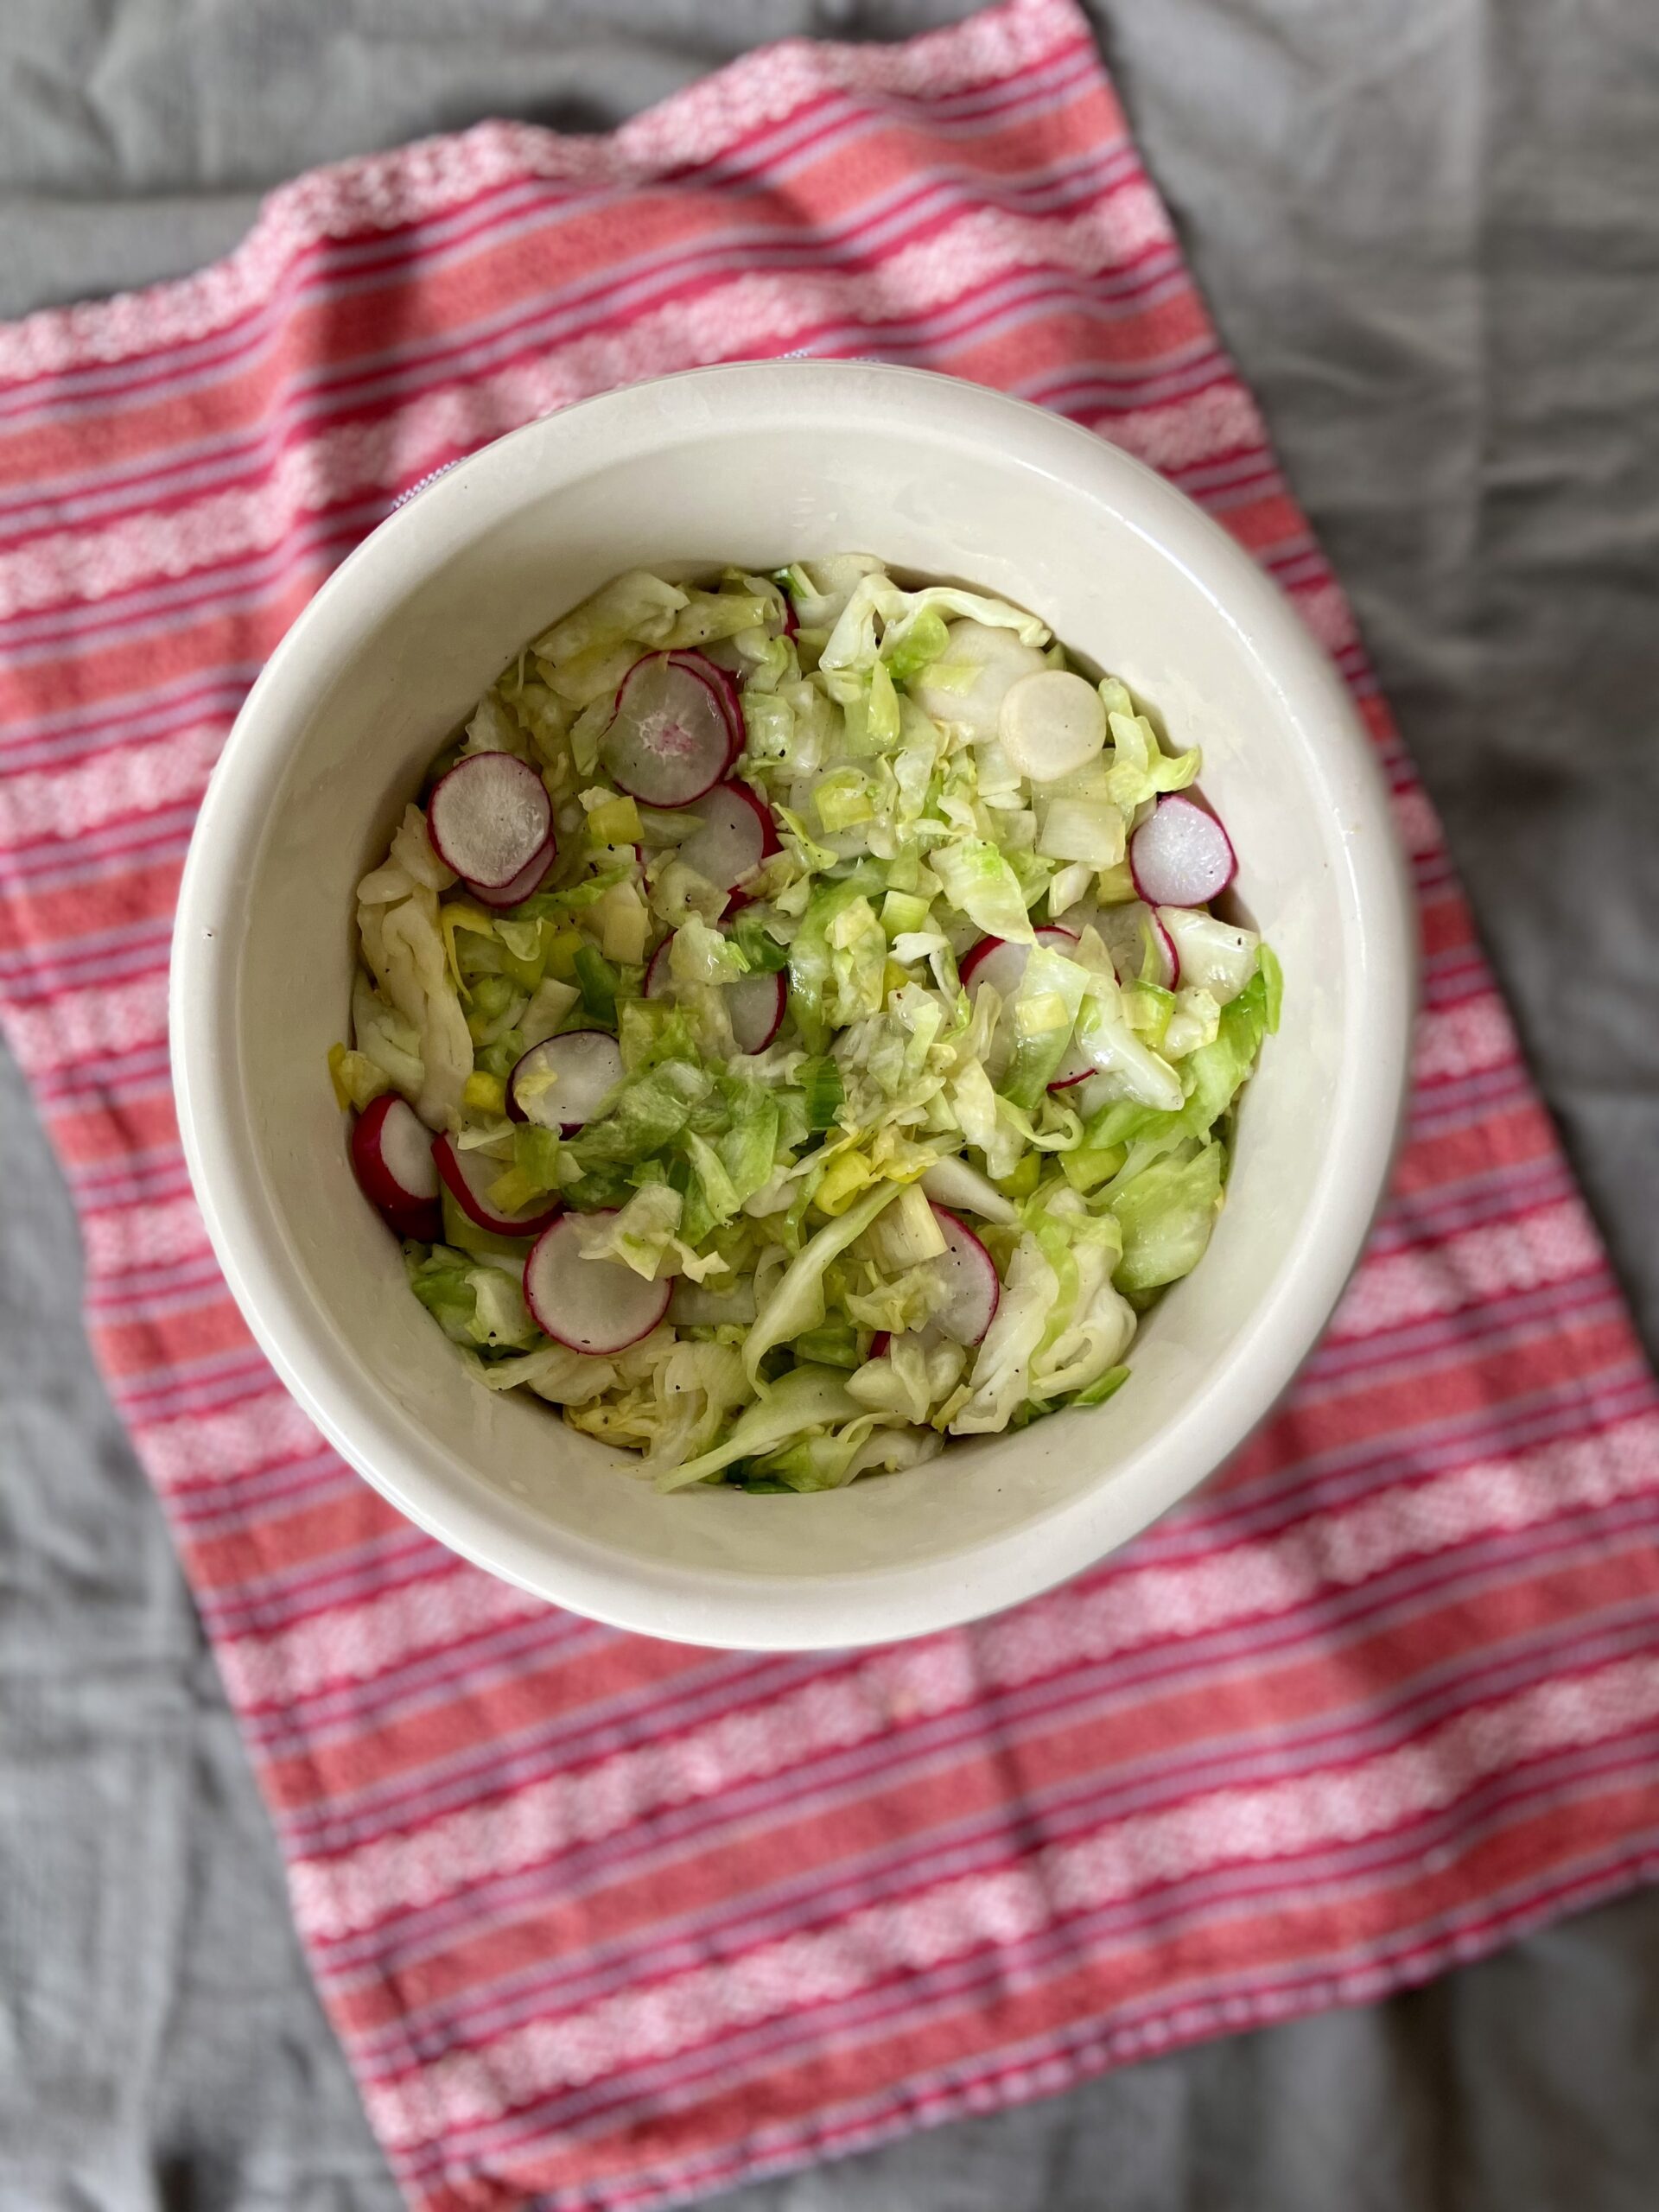
Napa cabbage. This is the classic kimchi base ingredient. Other types of kimchi may use radishes or cucumbers as the base.
Gochugaru. These Korean red pepper flakes are what gives kimchi its signature flavor. It’s not the same without it. Look for gochugaru at Asian markets, Whole Foods, or online.
Ginger. It adds sharpness and brightness to the flavor of the finished kimchi.
Garlic. Crucial for helping to develop kimchi’s deliciously pungent flavor.
Minimal tools you may need
Mortar and pestle
Bus tub
1/2 gallon canning jar + 1 quart canning jar and fermentation weights
1/2 gallon ceramic crock
The process at a glance
Day 1
Wash all your vegetables, bus tub, and fermentation container(s).
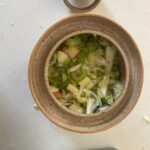
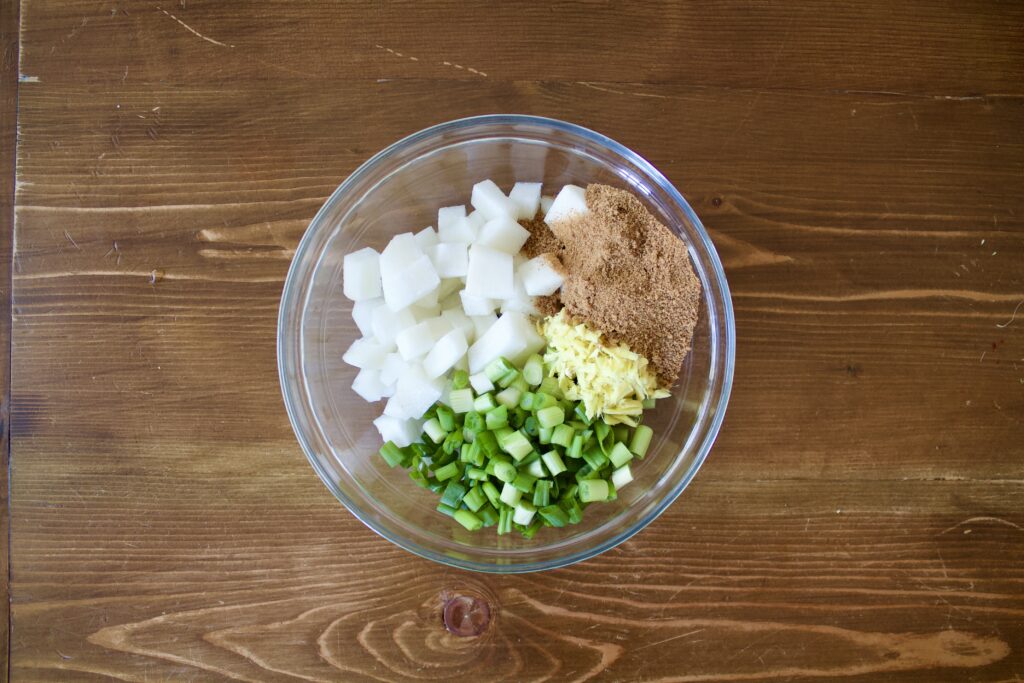
Prepare your vegetables. Chop the daikon radish and green onions. Grate the ginger and set all the vegetables aside in a bowl with the coconut sugar.
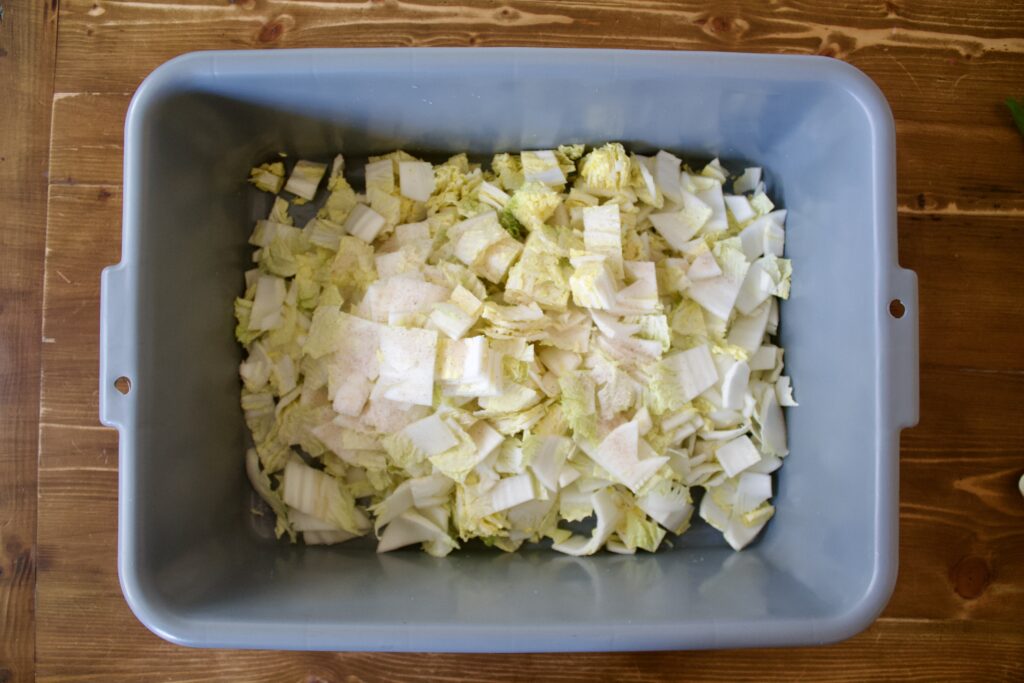
Put the cabbage in a bus tub and add sea salt. Massage the salt in with your hands for a couple of minutes. Set aside for 30-60 minutes.
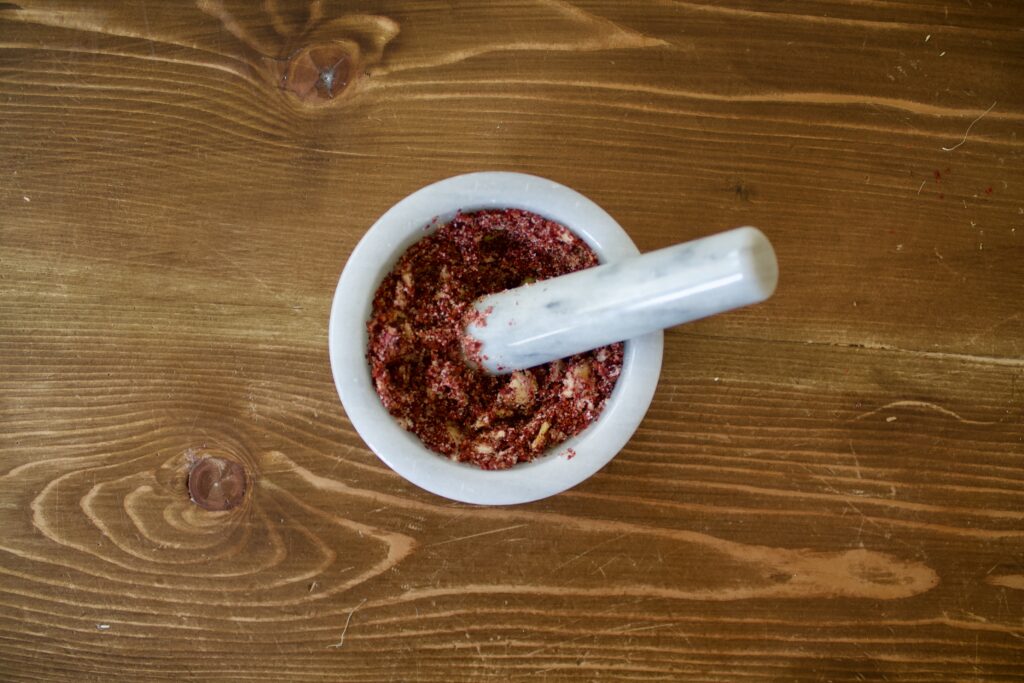
Place garlic, gochugaru, and salt into a mortar and pestle. Grind until a paste is formed.

Add all the prepped vegetables and gochugaru paste to the cabbage mixture and mix well.
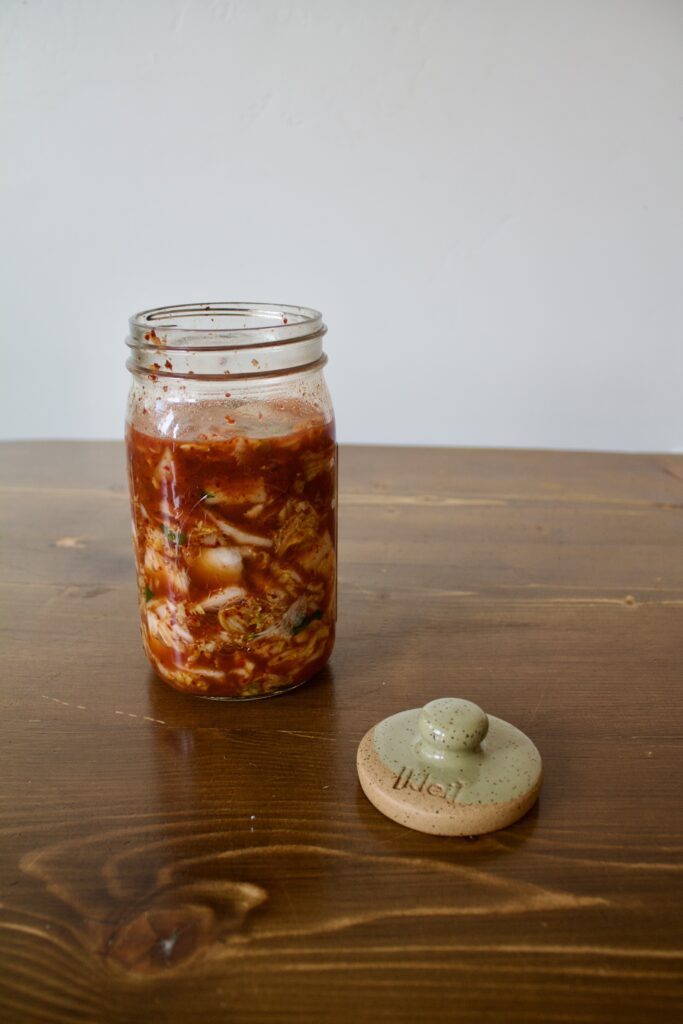
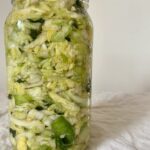
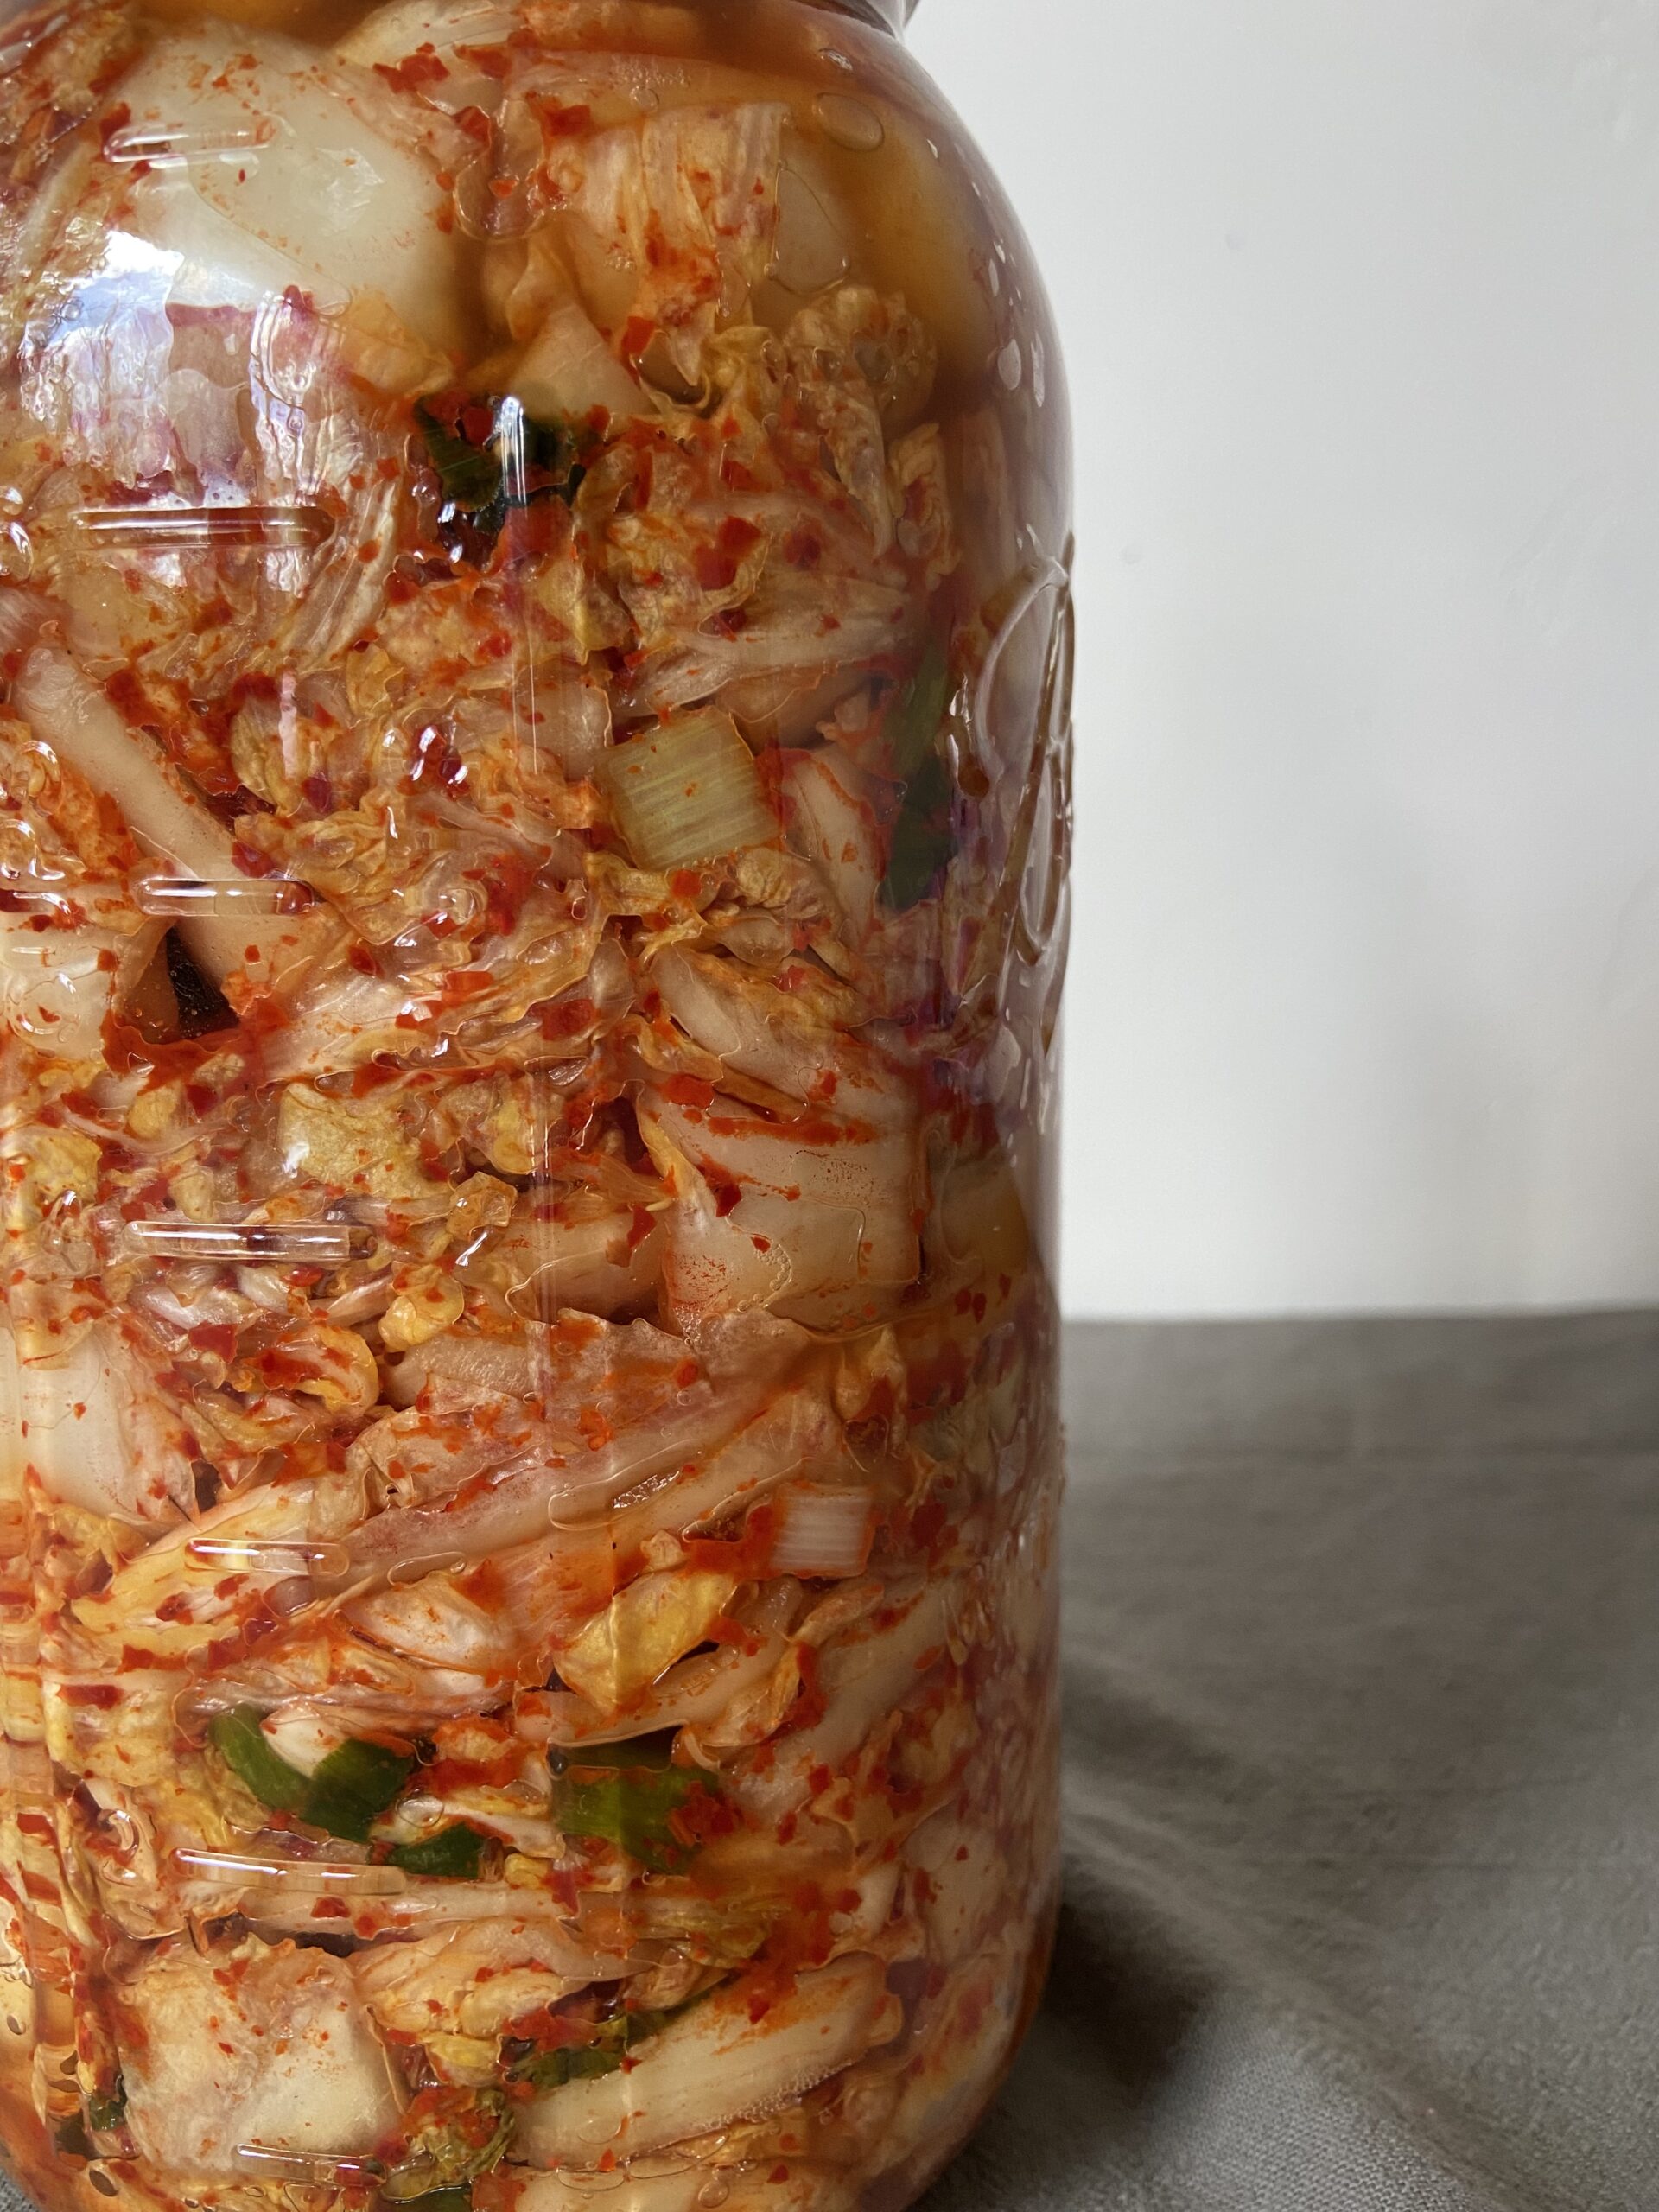
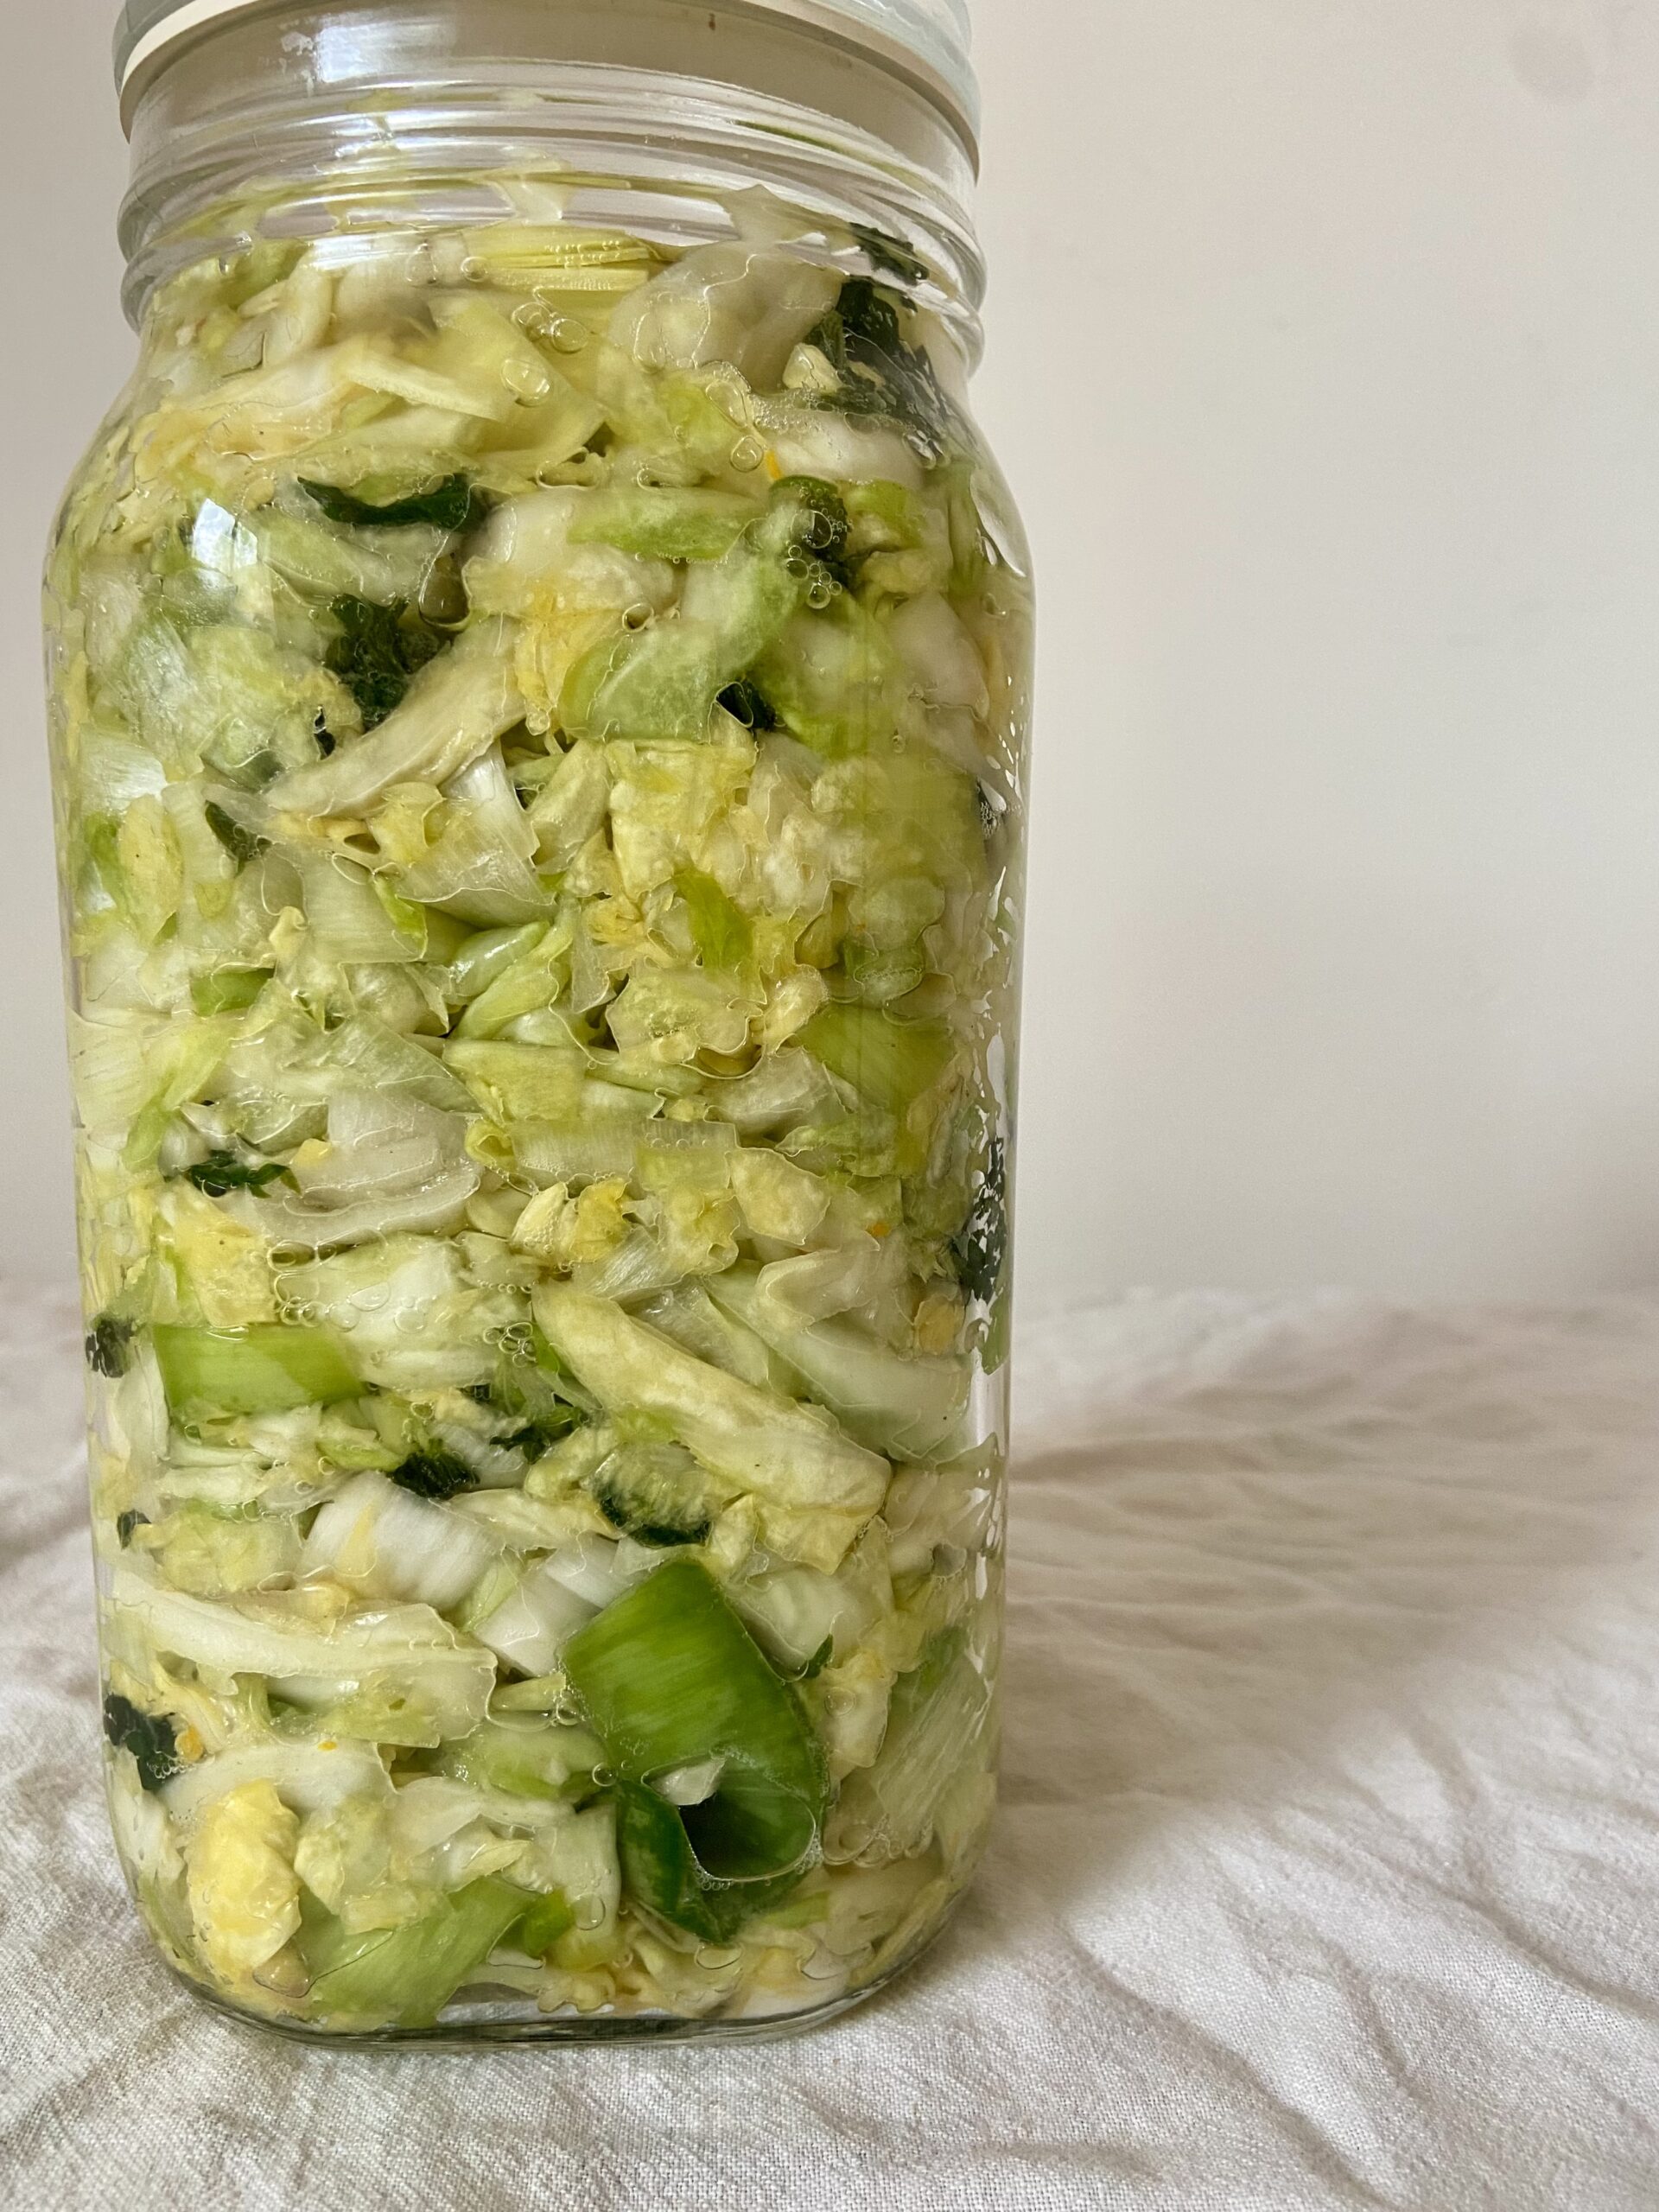
Pack the kimchi mixture, including the liquid that has been released, into a jar or crock.
Firmly pack down the cabbage mixture and place your weight.
Let it ferment in a cool spot away from direct sunlight.
Day 2
Day 3
Day 7-14 (and beyond)
Check the brine. It may have increased overnight. If it does, pour off extra brine so that it doesn’t overflow. Check it again later in the day to make sure the brine didn’t rise back up. Pour off any extra.
Give it a visual check every day.
Expect to see bubbles rising up through the brine and maybe foam on top. If using a Kraut Source, the device may “burp” every few minutes.
Give it a visual check every few days.
You may notice less activity and no foam or bubbles. This is normal!
Give it a try to see how you like it. More time = more tang. If you want it to keep fermenting longer, place everything back under the brine and keep it at room temp for a few more days. If you’re happy with it, put a label on the jar with the name and date of your ferment. Top the jar with a plastic lid and place it in the fridge.
Classic Kimchi
Equipment
- Vegetable grater
- Mortar & pestle
- Bus tub
- 1/2 gallon canning jar + 1 quart canning jar
- Fermentation weight
Ingredients
- 5 lbs Napa cabbage, cored and sliced into 1″ x 2″ pieces
- 5 tbsp unrefined sea salt, divided
- 8 tbsp gochugaru
- 6 cloves garlic, chopped
- 10 oz daikon radish, peeled and chopped into small pieces
- 10 stalks green onions, chopped
- 2 tbsp grated ginger
- 4 tbsp coconut sugar
Instructions
Day 1
- Wash all your vegetables, bus tub, and fermentation container(s).
- Put the cabbage in a bus tub and add 3 tbsp of sea salt.
- Massage the salt in with your hands for a couple of minutes. Set aside for 30-60 minutes.
- Place 2 tbsp of sea salt, gochugaru, and garlic into a mortar and pestle. Grind until a paste is formed.
- Add the gochugaru mix, daikon radish, green onions, ginger, and coconut sugar to the cabbage mix. Mix well.
- Pack the kimchi mixture, including the liquid that has been released, into a jar or crock. Firmly pack down the cabbage mixture and place your weight.
- Let it ferment in a cool spot away from direct sunlight.
Day 2
- Check the brine. It may have increased overnight. If it does, pour off extra brine so that it doesn’t overflow. Check it again later in the day to make sure the brine didn’t rise back up. Pour off any extra.
- Give it a visual check every day.
Day 3
- Expect to see bubbles rising up through the brine and maybe foam on top.
- Give it a visual check every day.
Day 7-28
- You may notice less activity and no foam or bubbles. This is normal!
- Give it a try to see how you like it. More time = more tang. If you want it to keep fermenting longer, place everything back under the brine and keep it at room temp for a few more days. If you’re happy with it, put a label on the jar with the name and date of your ferment. Top the jar with a plastic lid and place it in the fridge.
For storage
- Once fermented to your liking, place kimchi in the fridge with an airtight lid. Look for plastic jar lids because they won’t rust. If you’re fermenting in a crock, decant finished kimchi into glass jars for easier storage in the fridge.