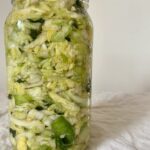
This sauerkraut with nettles is bright, earthy, and features a special springtime herb—stinging nettle. Rest assured: the fermentation process removes the sting of the nettles. You’re left with a kraut that’s pleasantly grassy and full of bioavailable vitamins and minerals.
What is stinging nettle?
Stinging nettle is one of the first plants to emerge after winter. In earliest spring, their green leaves look almost like mint or lemon balm. You’ll know it’s not because it delivers an irritating sting when you touch it. And it doesn’t have the same intoxicating scent as mint or lemon balm.
Stinging nettle is one of the safest herbs you can use. It’s a nutritive herb that’s full of important nutrients, including calcium, magnesium, potassium, silica, and chlorophyll. Commonly used in herbal tea, fresh nettle can also be used in your kitchen, similar to how you’d prepare spinach. And maybe give this fermented nettle recipes a try! It might be a new spring tradition.
How to enjoy it
eggs and avocado
grilled salmon
polenta and chèvre
Nourishing ingredients
Leeks. Let them soak in cool water and then rinse. Leeks often have grit and sand deep within their layers. They could benefit from an extra rinse.
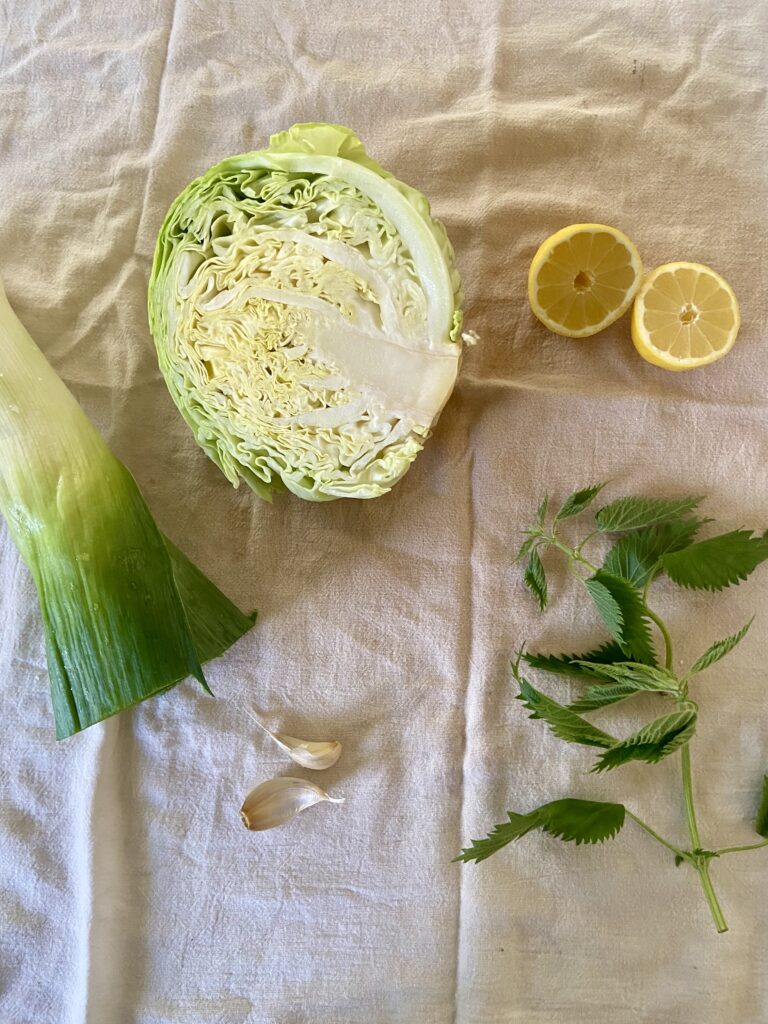
Stinging nettles. Look for the freshest nettles you can. They should sting! Consider wearing gloves before plucking the fresh leaves from the stems and massaging the stinging nettle leaves into the salted cabbage mix.
Lemon. The zest and juice adds brightness with the stinging nettle and earthy leeks.
Minimal tools you may need
Bus tub
1 gallon canning jar and a fermentation weight
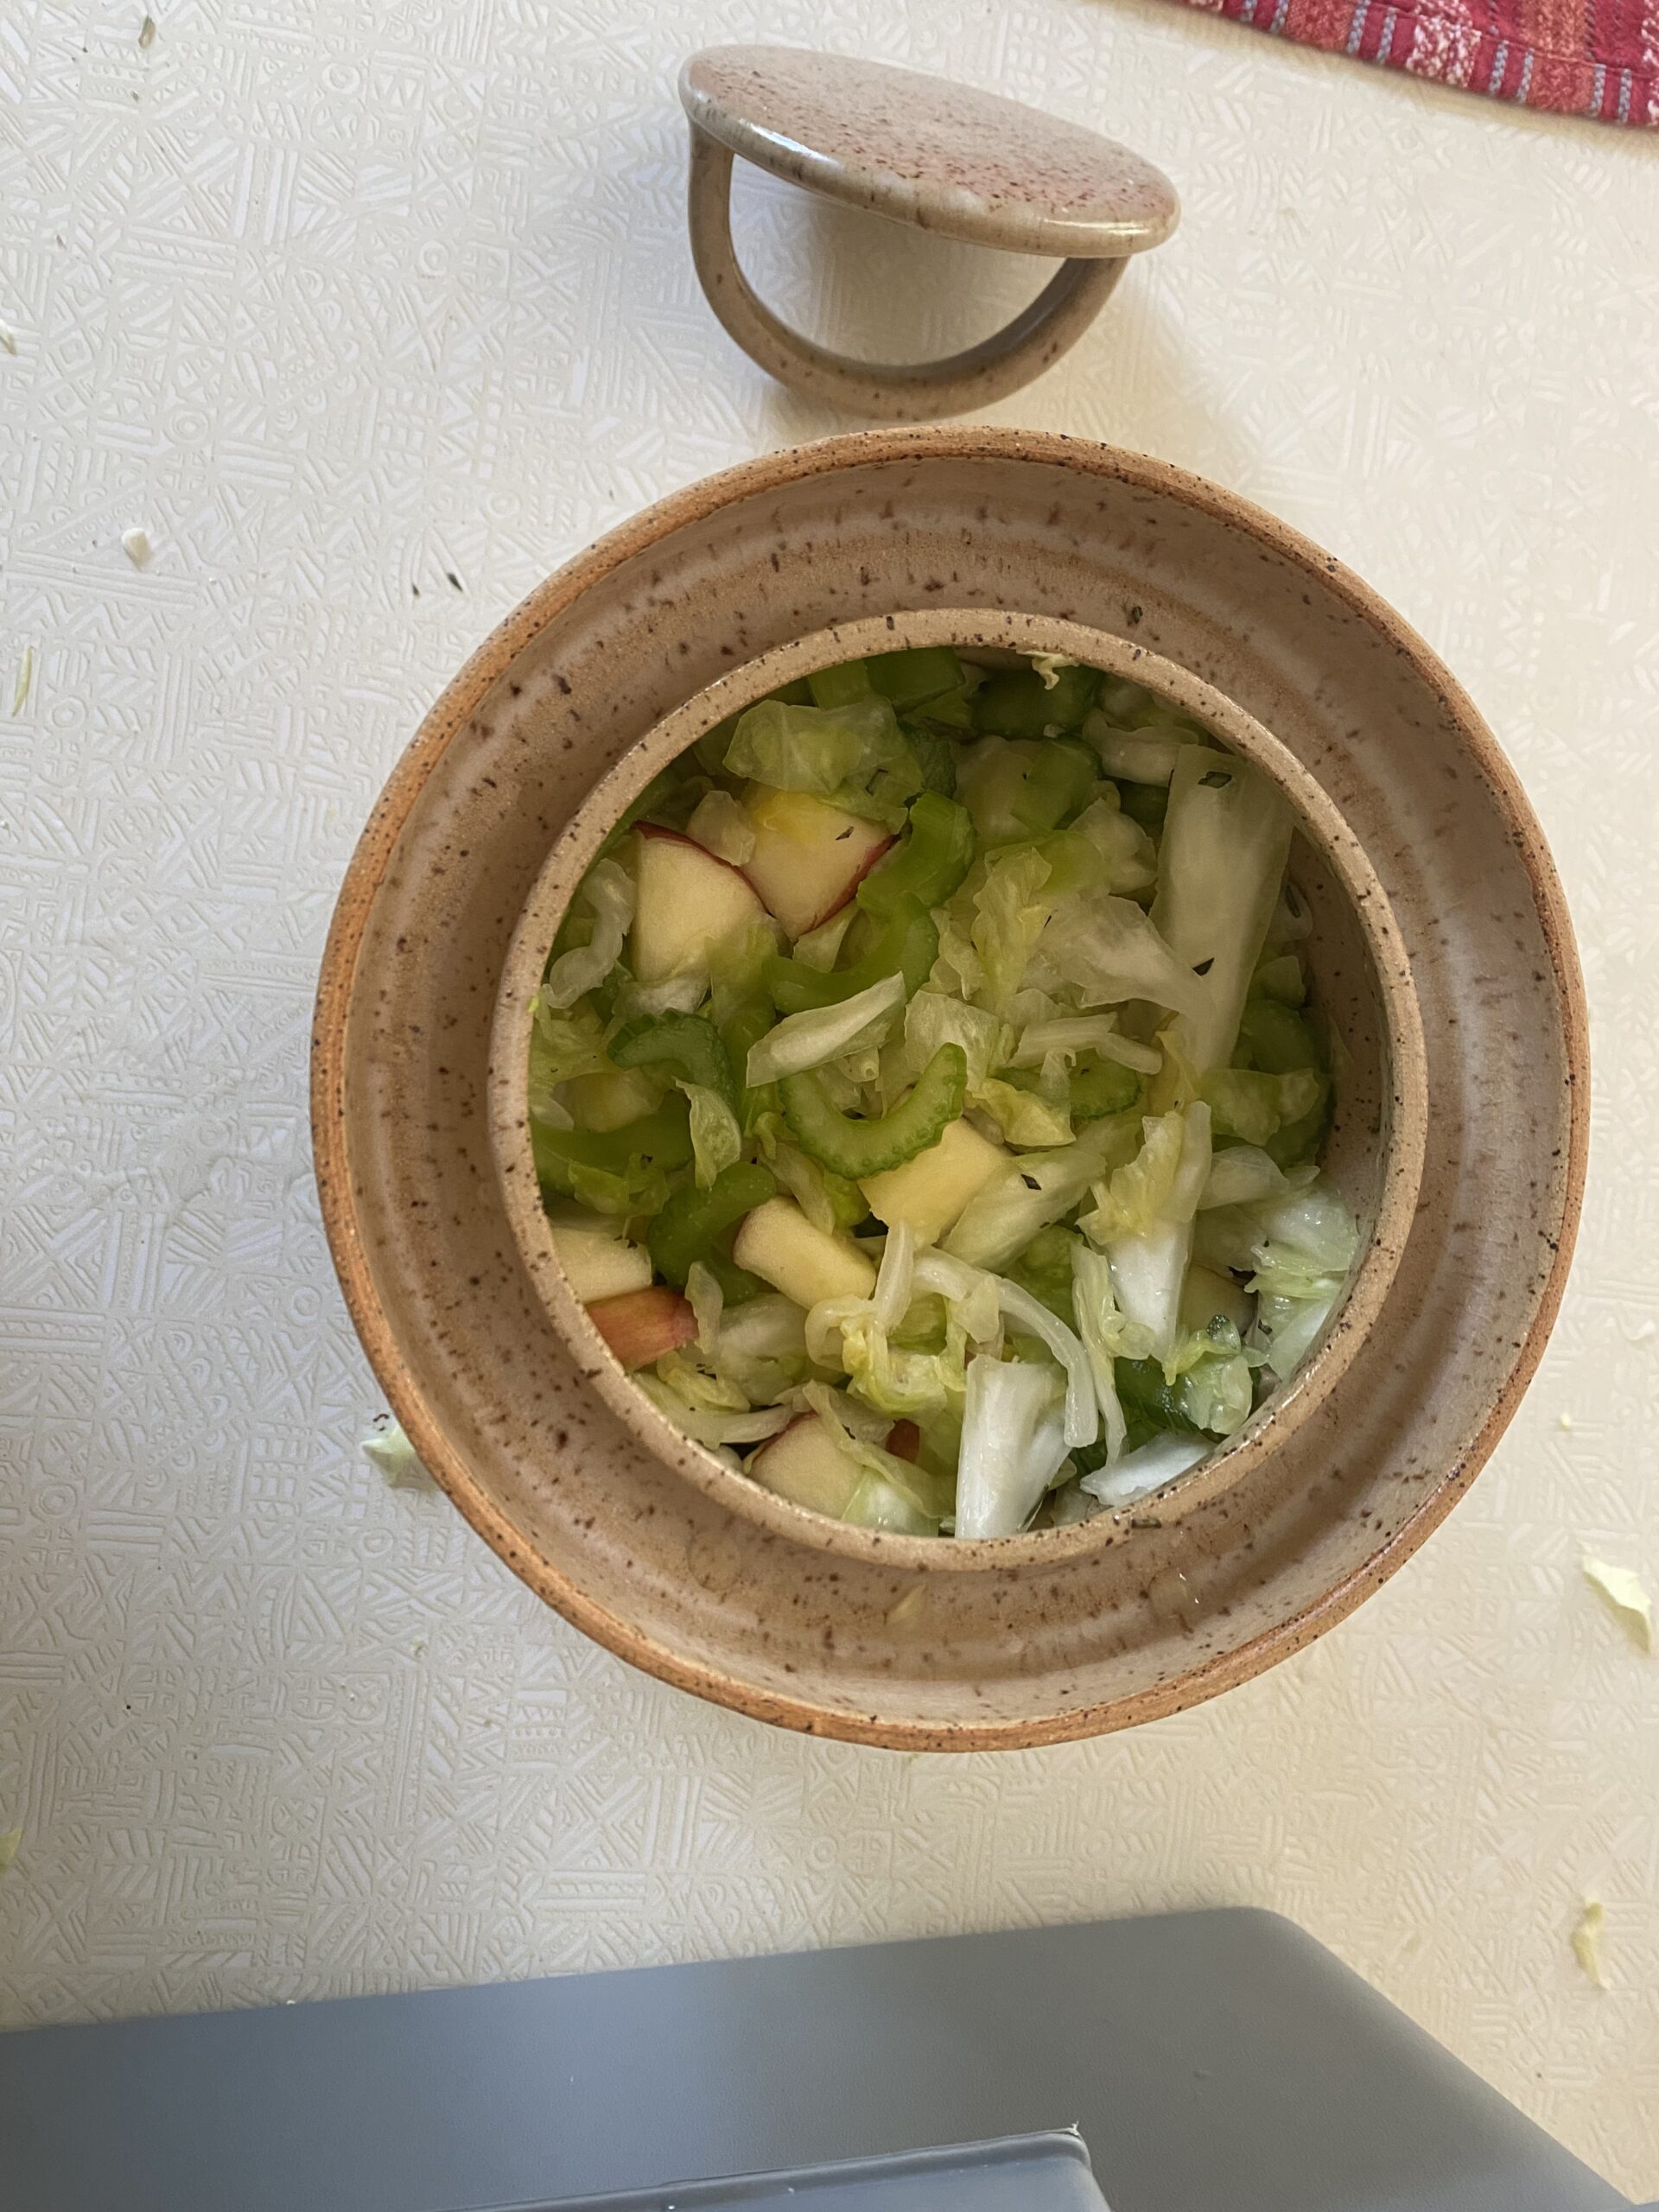
1 gallon crock
The process at a glance
Day 1
Wash all your vegetables, bus tub, and fermentation container(s).
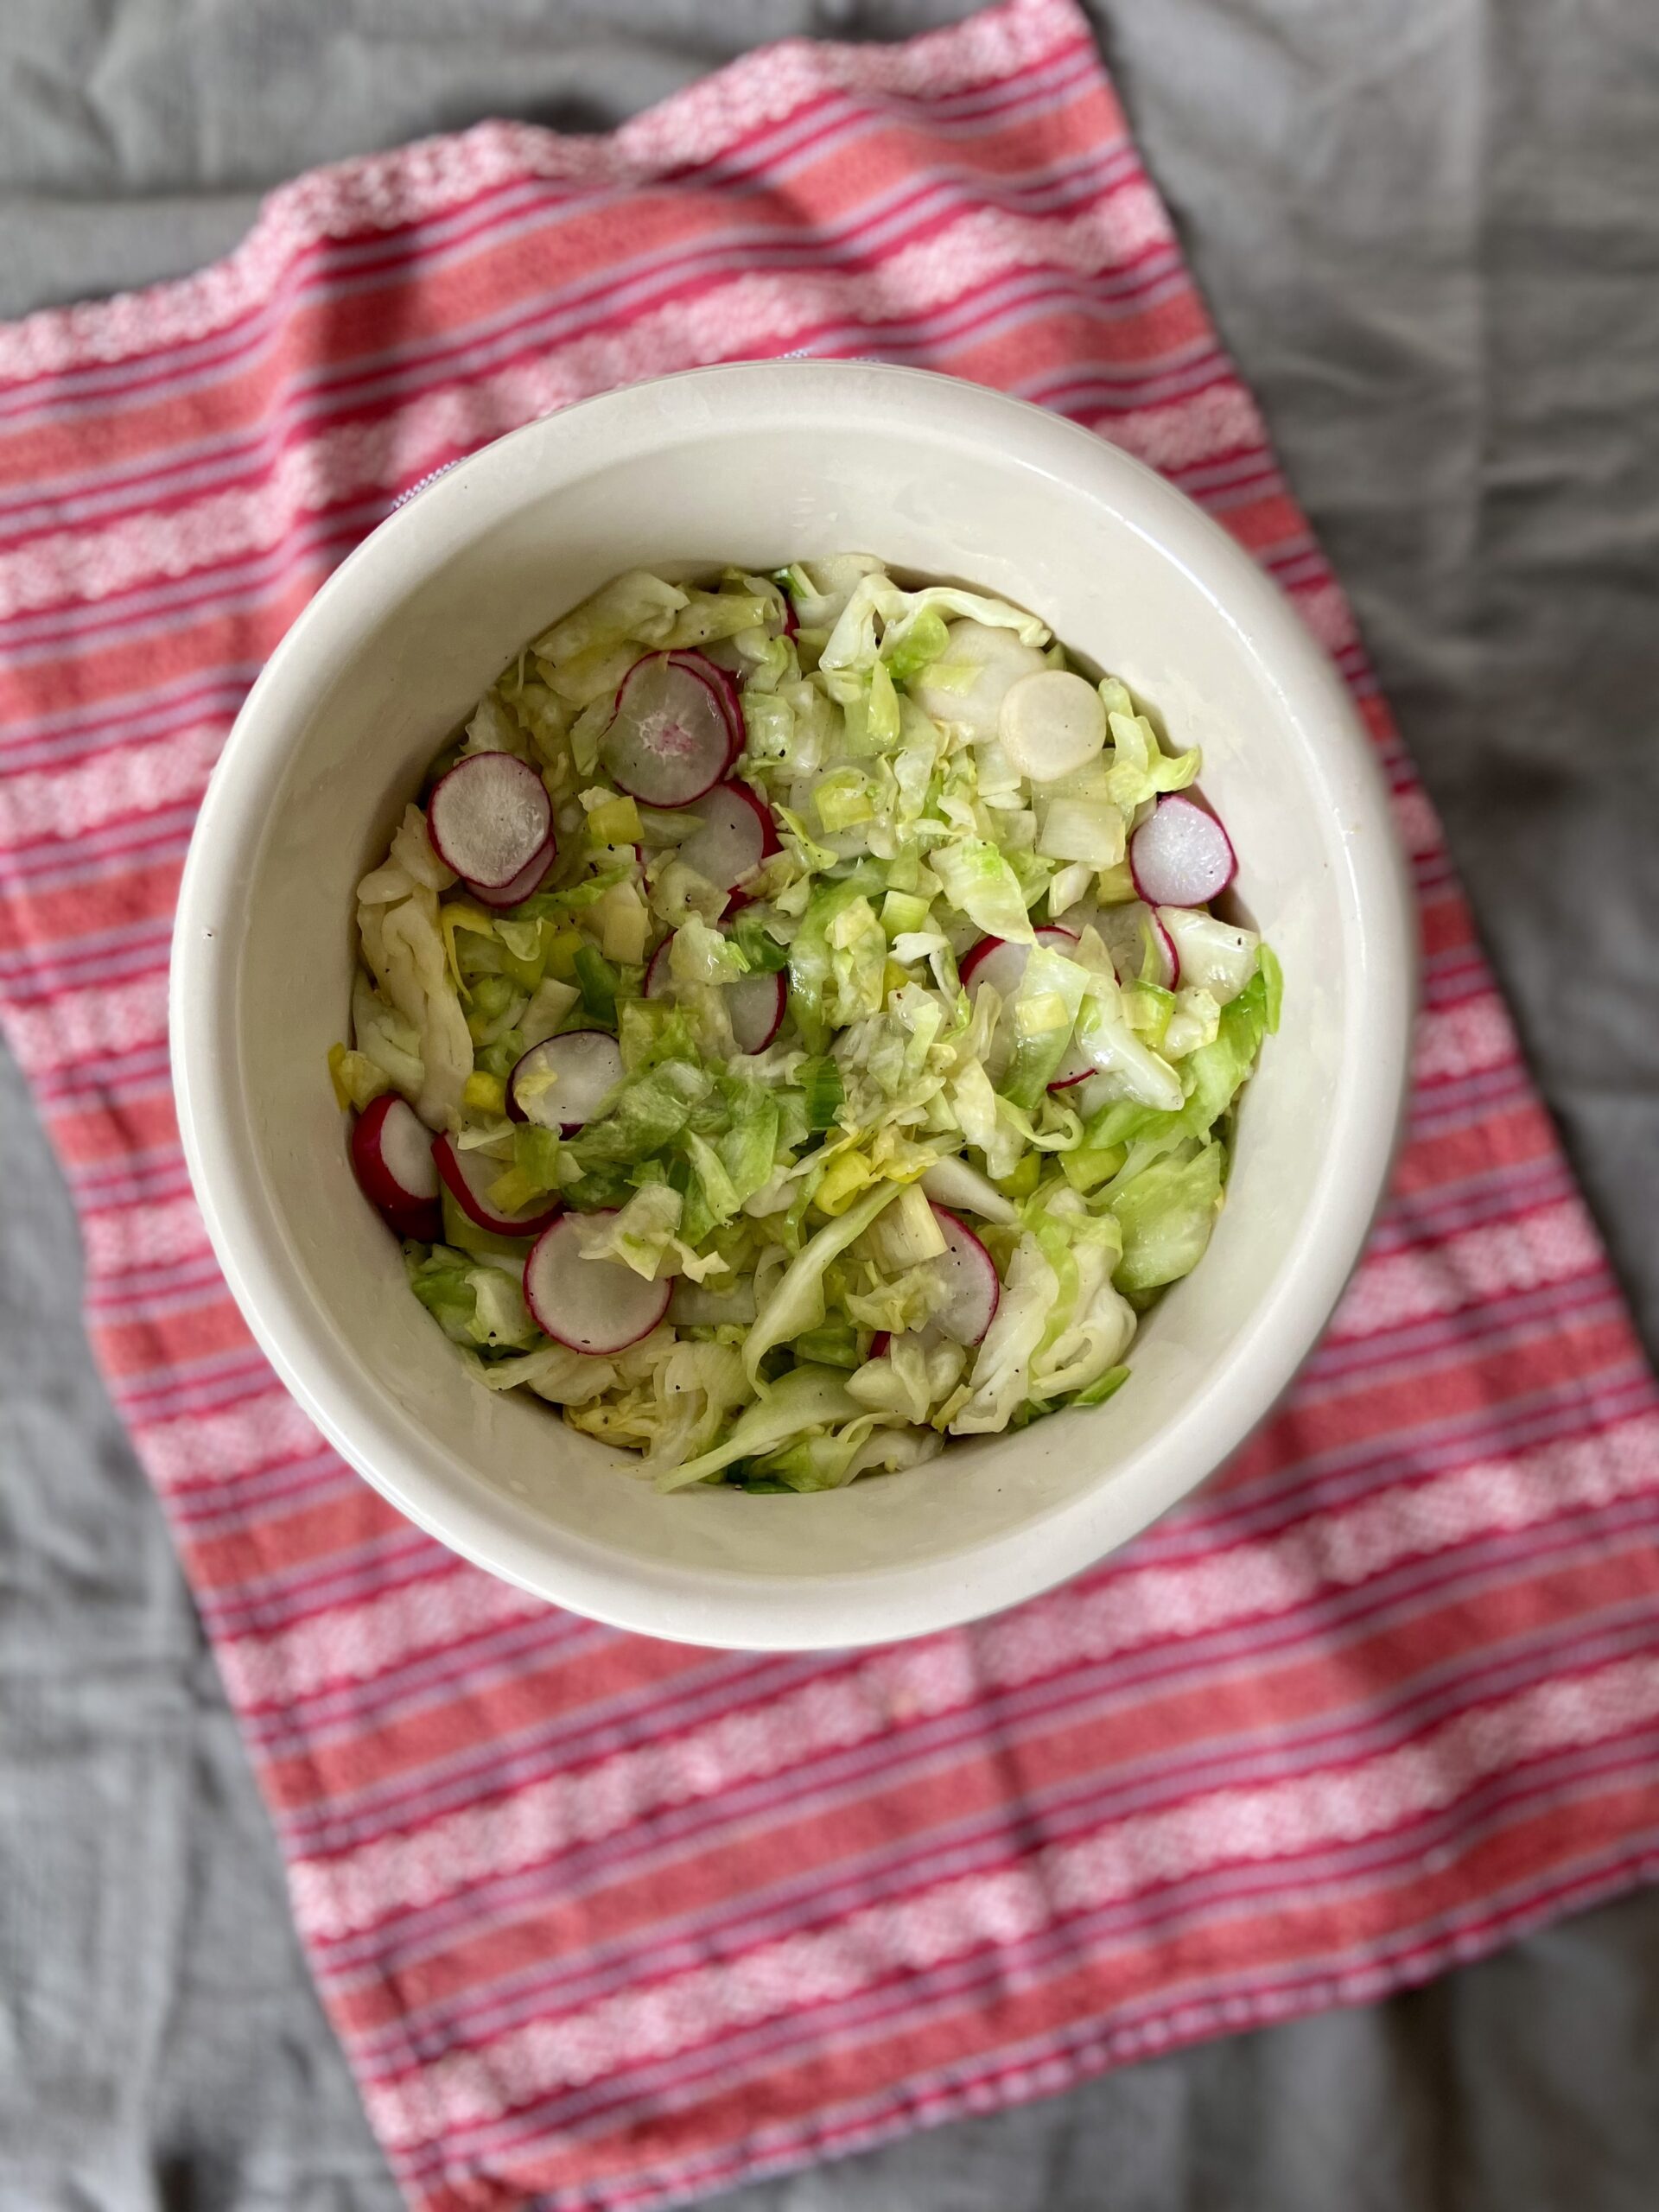
Prepare your vegetables. Chop the cabbage, leeks, and garlic. Zest the lemon. Pluck the stinging nettle leaves from the stems.
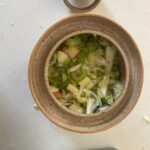
Put the cabbage, leeks, and garlic into the bus tub and add sea salt. Massage the salt in with your hands for a couple of minutes. Set aside for 30-60 minutes.
Mix in the lemon zest, juice, and stinging nettle leaves.
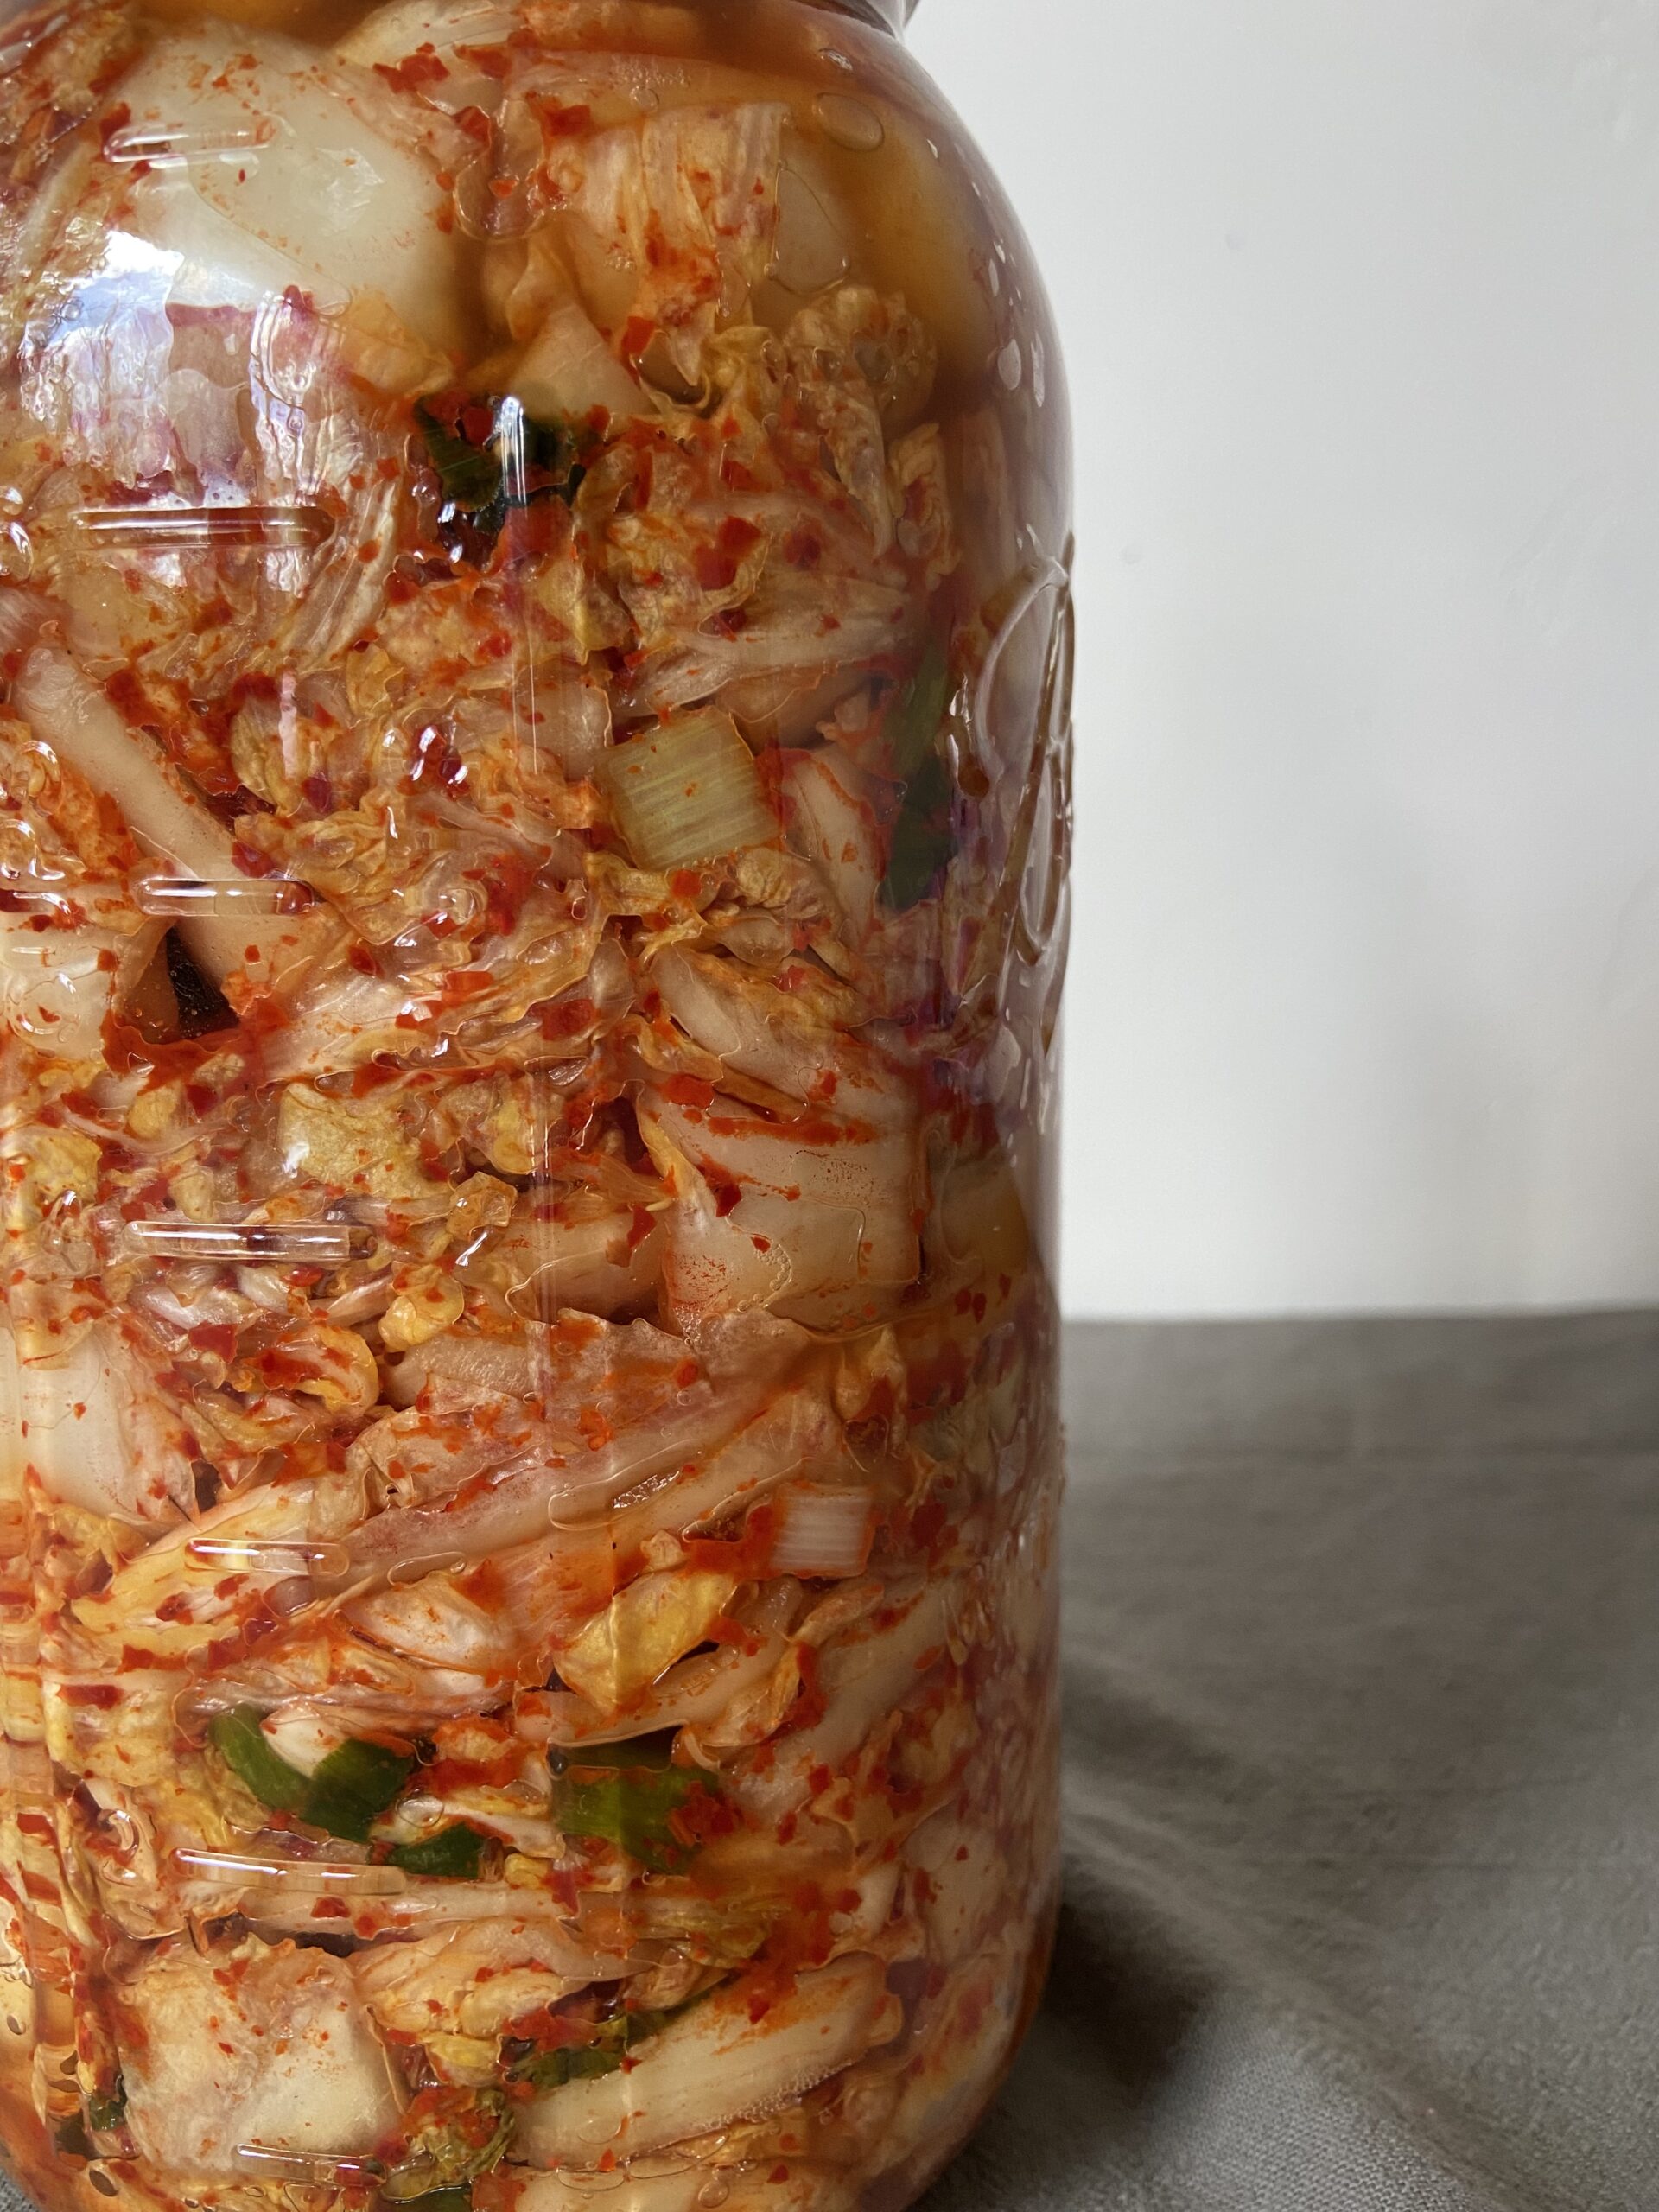
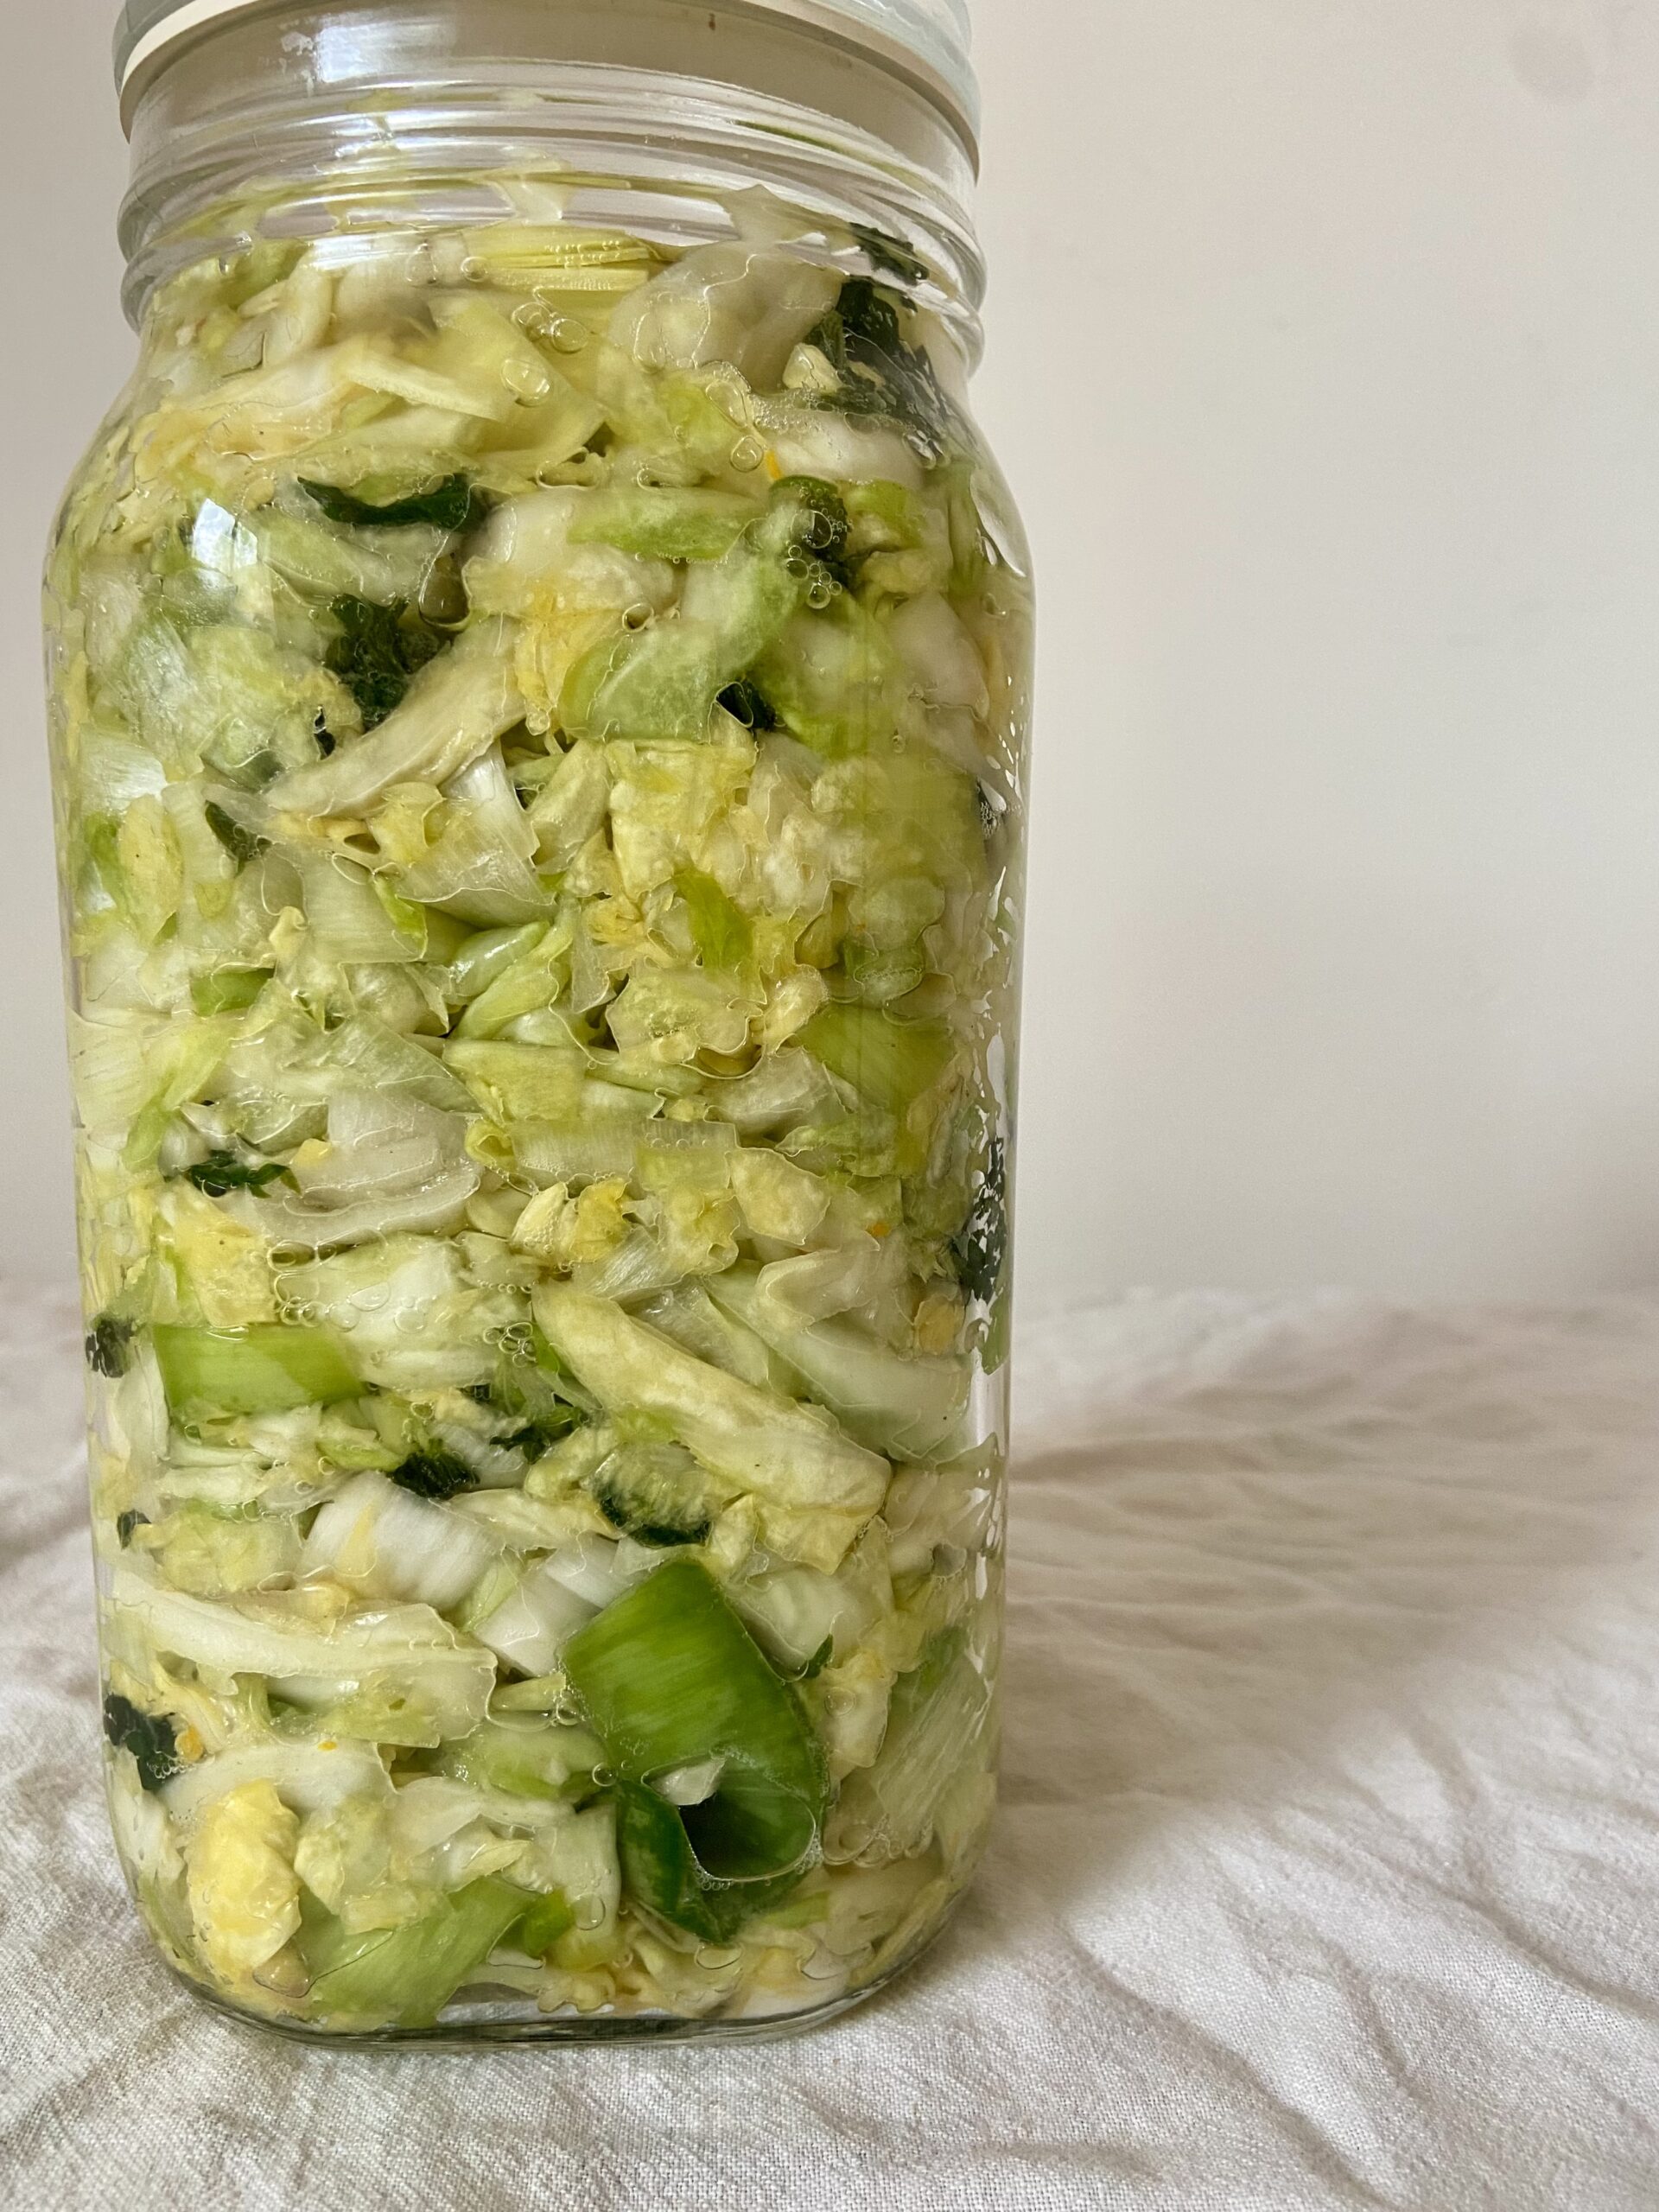
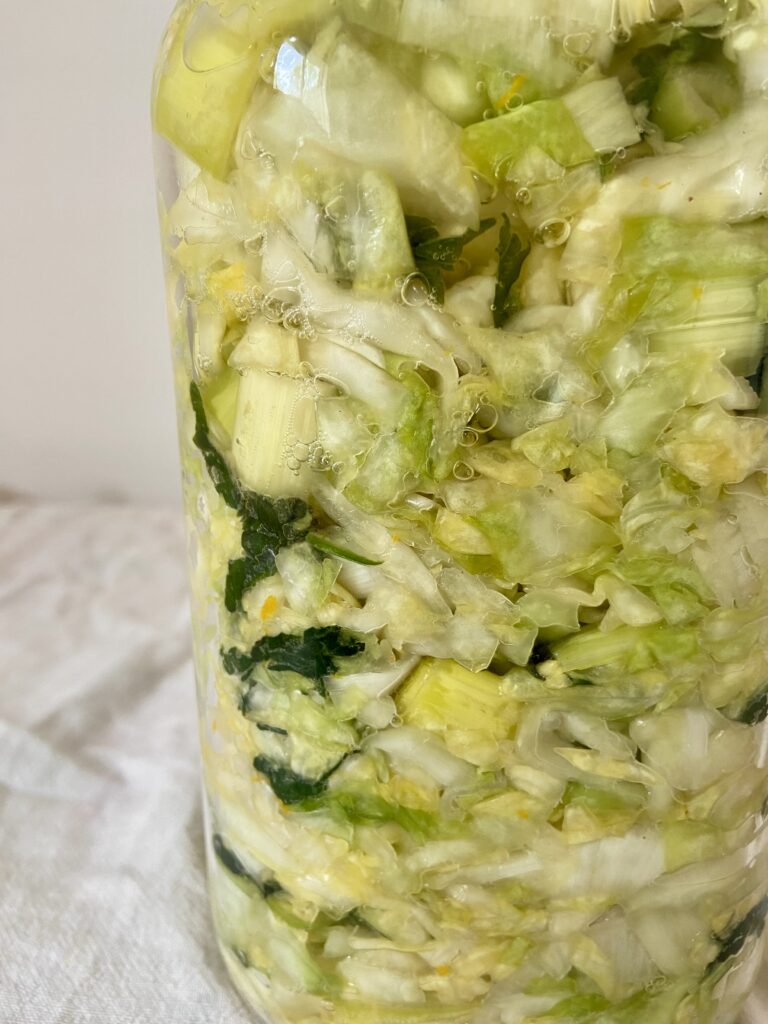
Pack the sauerkraut mixture, including the liquid that has been released, into a jar or crock.
Firmly pack down the cabbage mixture and place your weight.
Let it ferment in a cool spot away from direct sunlight.
Day 2
Day 3
Day 7-28
Check the brine. It may have increased overnight. If it does, pour off extra brine so that it doesn’t overflow. Check it again later in the day to make sure the brine didn’t rise back up. Pour off any extra.
Give it a visual check every day.
Expect to see bubbles rising up through the brine and maybe foam on top. If using a Kraut Source, the device may “burp” every few minutes.
Give it a visual check every day.
You may notice less activity and no foam or bubbles. This is normal!
Give it a try to see how you like it. More time = more tang. If you want it to keep fermenting longer, place everything back under the brine and keep it at room temp for a few more days. If you’re happy with it, put a label on the jar with the name and date of your ferment. Top the jar with a plastic lid and place it in the fridge.
Stinging nettle sauerkraut with leeks and lemon
Equipment
- 1 gallon canning jar or ceramic crock
- Fermentation weight
Ingredients
- 4 lbs green cabbage
- 2 large leeks
- 6 cloves garlic white and red Can substitute with Leeks or Shallots
- 4 oz fresh stinging nettle
- 3-4 tbsp unrefined sea salt
Instructions
Day 1
- Wash all your vegetables, bus tub, and fermentation container(s).
- Chop the cabbage, leeks, and garlic. Zest the lemon. Pluck the stinging nettle leaves from the stems. Put the cabbage, leeks, and garlic into the bus tub and add sea salt.
- Massage the salt in with your hands for a couple of minutes. Set aside for 30-60 minutes. Mix in the lemon zest, juice, and stinging nettle leaves.
- Pack the sauerkraut mixture, including the liquid that has been released, into a jar or crock. Firmly pack down the cabbage mixture and place your weight.
- Let it ferment in a cool spot away from direct sunlight.
Day 2
- Check the brine. It may have increased overnight. If it does, pour off extra brine so that it doesn’t overflow. Check it again later in the day to make sure the brine didn’t rise back up. Pour off any extra.
- Give it a visual check every day.
Day 3
- Expect to see bubbles rising up through the brine and maybe foam on top.
- Give it a visual check every few days.
Day 7-21
- You may notice less activity and no foam or bubbles. This is normal!
- Give it a try to see how you like it. More time = more tang. If you want it to keep fermenting longer, place everything back under the brine and keep it at room temp for a few more days.
Storage
- Once fermented to your liking, put a label on the jar with the name and date of your ferment. Top the jar with a plastic lid and place it in the fridge.